If you are just beginning to contemplate creating 3D products for IMVU, then Furniture Products is a great place to start. Without the complex rigging of the avatar, or the tons of nodes you have to deal with in Room products, Furniture is about as basic as it gets.
What is a Furniture Product?
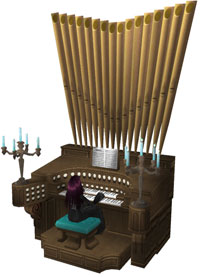
“In IMVU a piece of Furniture is any product that can be placed into a 3D scene, and it usually lives in the Furniture section of the IMVU catalog. Furniture can be anything you, the developer, can think of. Whether it is a simple cube or a treadmill with an running avatar animation, you can make and sell it all in IMVU. The biggest limitation on building Furniture for IMVU is your own imagination
It is important to note that a Furniture product is different than a 3D Room in which it will eventually live. Although they can share many of the same technical aspects, Furniture is officially a product that can be placed and moved around in a 3D scene.”
To build a Furniture Product, you are going to have to gain knowledge in these specific areas:
Once you have gone through all the tutorials necessary to get from inspiration to final product, you will have learned many of the fundamental steps that are needed to get any 3D asset into IMVU, which means you are already on the road to being able to create Rooms, Avatar Accessories, and eventually the Avatar itself.
Files to Get You Started
We have some example files for you to look at, so you can get familiar with how furniture items are put together. For the purpose of these tutorials, we will be using 3D Studio Max 7 as the default 3D editing program in our examples.
Example Furniture Product files:
Each ZIP file above contains the textures and skeleton for each product as well as the product or CFL itself. You will need all of these to make your first furniture product in the Create Mode Editor.
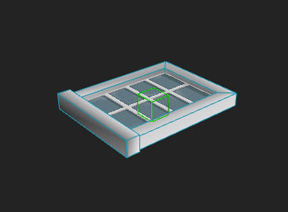
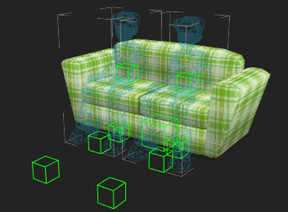
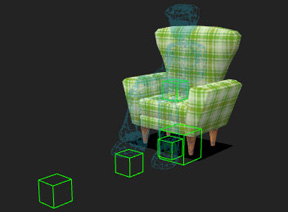
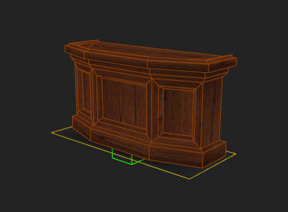
Each example Furniture MAX file contains several objects necessary to convert your idea into IMVU reality. These include a mesh or meshes, a Multi-Sub materials, and a Root node. Furniture that avatars can sit in also contain seat nodes, Catcher/Pitcher nodes, handle nodes and placeholder avatar meshes.