In this tutorial you’ll learn about avatar files for IMVU and the basics of posing. While this tutorial specifically references Blender, many of these steps will apply in other 3D software applications. [Download Blender FREE here.]
The Blender Avatar Files
There are three IMVU avatar files for Blender but only one can be used to make properly functioning statue or static poses (the avatar doesn’t move or do anything, it stands still like a statue, hence the word “statue”), or animated actions (the avatar performs an activity like scratching its butt/nose). These are the Accessory Avatar file, the Clothing Avatar, and the Pose Avatar. Only the last, the Pose Avatar, can be used to make working statue poses and animated actions.[/ht_message]
Why can’t I use the other avatar files?
The Accessory and Clothing avatars are no good for poses or animated actions because their set up differs a great deal, they can only be used to make content for the type of product they are tailored to; accessories or clothing. This separation also helps Blender Users work around some of the peculiarities present in 3DS Max that cannot be replicated in Blender, the avatars bone orientation for example. Depending on the type of product being made then, make sure to select or utilise the correct Avatar Starter Files;
Why do the Pose Avatar bones point all over the place?
Without getting too technical, bones appear to point in odd directions because they are compensating for a difference found in the original 3D Studio Max avatar files upon which the Blender files were based, namely something referred to as the ‘Global Orientation’ – essentially the names given to the front/back, left/right, up/down cardinal or primary axes, in 3DS Max the feature used to create avatar skeletons is set-up so “Z“, the up/down axis in Blender, points front/back in 3DS Max. Not accounting for this difference in Blender results in, well, disaster and a lot of pain for the avatar!.
How do I use the Pose File?
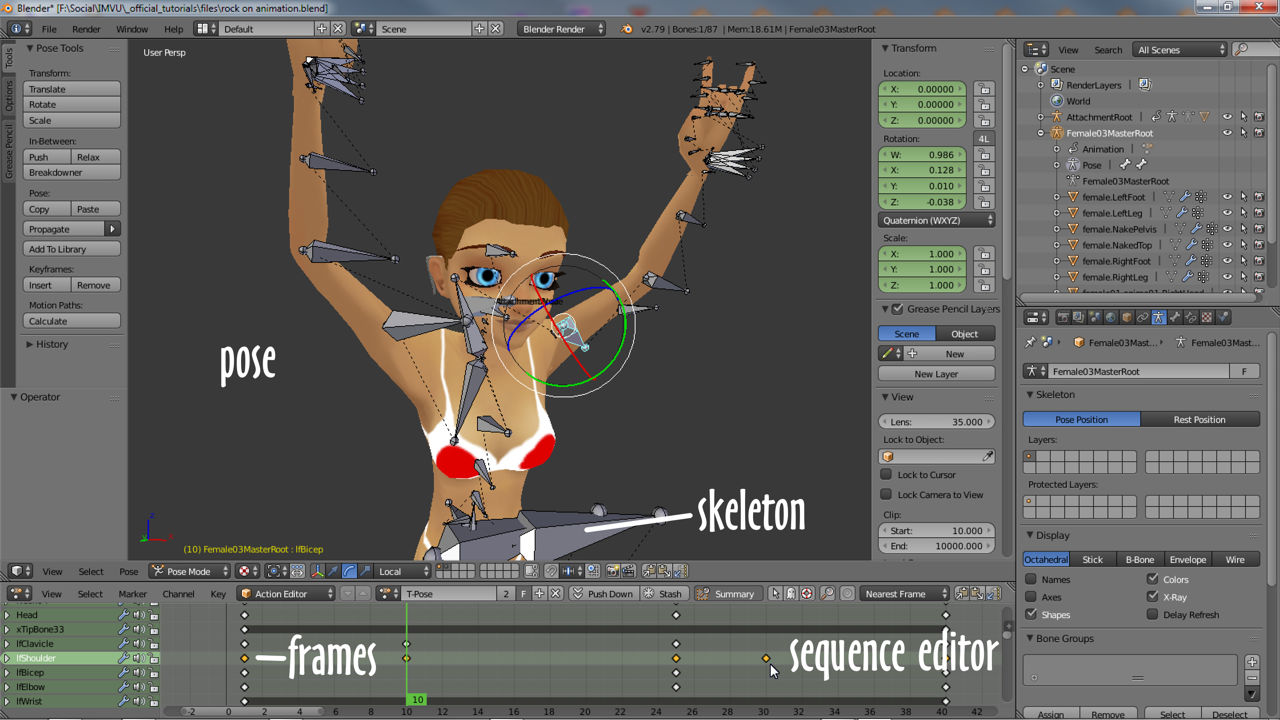
For more in-depth instruction on creating avatar poses and animations see the Avatar Animation (skeletal) and Looping/Cycling Animation Education Centre documents. In the mean time, to use the Pose Avatar, open the Avatar Pose Starter File in Blender. Decide on whether to make a ‘statue’ or animated action and using the defaults present in the file, move individual bones into position and then take a snapshot (keyframe) of the resulting pose or poses. Once a sequence is created it can then be exported to FBX for assembly in IMVU.

