 Sometimes, an animation calls for a bit more control than what you normally find in the base MAX files that IMVU supplies you. In these instances, it makes sense to lock the position and orientation of a bone or set of bones in the avatar skeleton.
This makes it really easy to do things like push-ups or anything where the avatar body moves but the hands stay fixed. Although we will focus on hands in this tutorial, you can apply the same idea to any bone(s) in any skeleton.
 Make your Pose
Even if I know in advance that an animation is giong to require a pos/ori lock, I often build the basic pose first. This allows me to figure out some of the nuances of the pose before deciding on where to lock the bones.
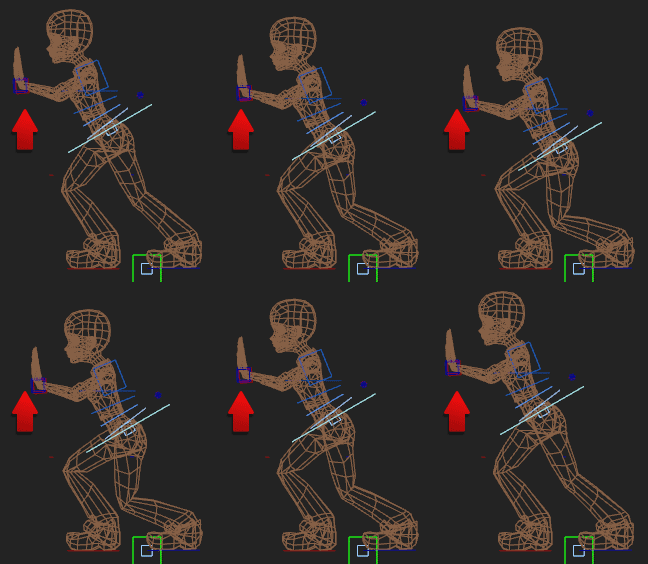
In the pose on the left, I want to have the avatar pushing against a solid wall. You will note that, without the hands locked in place, the animation looks more like some kind of defensive tai chi than pushing against something of substance.
Create Dummy Node
Once the basic pose is made, create a dummy node for every bone or controller to be locked.
Open the ‘Create’ tab on the right side of MAX and click the ‘Helpers’ icon (tape measure). Then choose the ‘Dummy’ button and click/drag inside the viewport. When I let go, I have created a new dummy node.
You can name the Dummies whatever you want if you find that helpful.
 Align Dummy Node
Dummy nodes can be snapped to the exact location and rotation as any other object in the scene.
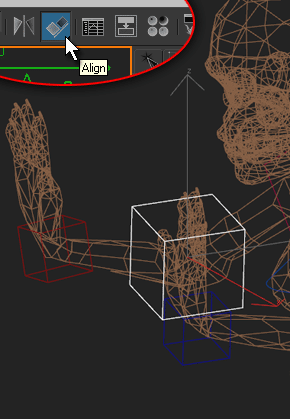
First, select the object that you want to align. In this case, it is your new Dummy node. Then, click on the Align tool on the top right of MAX. You will see your cursor change. Next, click on the object that you want to align to. In this case, I choose the left wrist controller.
Align Dialog Box
When I click on the left wrist controller, the Align Selection dialog box appears. I then make sure that these three options are selected:
 Node Aligned
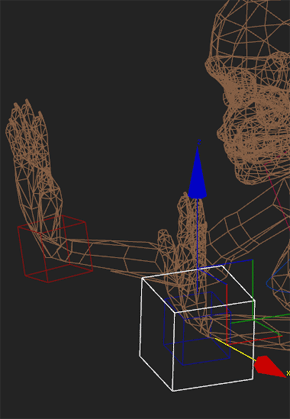
After I click OK on the Align Selection dialog box, I can see that my dummy node is now in the exact same place and rotation as the wrist bone.
Assign Pos/Ori
Select the wrist bone and assign a Position Constraint and an Orientation Constraint.
Go to Animation/Constraints and choose Position. Then select the dummy node. The dummy node blinks to indicate the constraint has been applied.
Next I choose the Orientation Constraint option, and then click on the dummy node agian. It blinks again to let me know the constraint has been applied. ![]() Bask in the glory
Bask in the glory
With Pos/Ori locks on the wrists, you can check out the animation.
As you can see on the right, the hands now stay in one place. The illusion that the avatar is pushing up against something solid is achieved.
Oh, and….Only the Pelvis is being animated in this shot. This means that your final animation looks compelling and is a very small file size.
If necessary: Delete Pos/Ori
But what if you want to delete those Position and Orientation constraints?
Have no fear. You can easily delete constraints by going into the ‘motion’ tab. With the ‘Parameters’ button selected, you can choose to see what constraints have been applied to Position and Rotation. If you want to delete the Position Constraint, just click on its name in the Position list. This will activate the Delete option below it. Click Delete and the constraint is gone.
