Introduction
Now you can include multiple lights in your Room and Furniture products you submit to the IMVU Catalog!
Adding lights to your 3D mesh is a way to add drama to your products, especially when you wish to control how the avatar is illuminated. Lights can be added in your 3D applications and Linked to your Sketeton or Root Node to be exported as part of the XSF hierarchy. Lights can be adjusted by intensity, color, and even animated. Lights are most effective when used in a room where the Ambient light and color is turned way down, or off completely, but it can also be used to create a sense of warmth in otherwise light room, for example, to add a sense of warm sunlight illuminating an avatar from a specific direction.
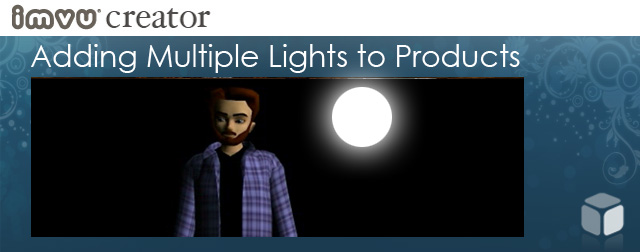
Lights applied to a Furniture product can suggest a glow from a campfire product, or animate around an avatar seated in a time machine. In the below video example, you can see an animated light that is rotating around an avatar. Since the effect of the light is all that will appear in your product (lights have no mesh), this example has an added white sphere that has been linked to the light animation node to help you see the light as it rotates around the avatar.
Things to know about Lights:
Currently lights do not greatly effect the surface of Meshes, in fact they shine right through them. So, if you have a bright light in one enclosed room it will shine through the walls and illuminate the avatars in a space several rooms away. Light intensity is also accumulative, so 8 lights at standard intensity will be very bright and blow out any subtlety you might be trying to achieve. The rule is to experiment to find that perfect balance, and remember that adjustments to the Ambient color and intensity will also effect how your imported lights behave.
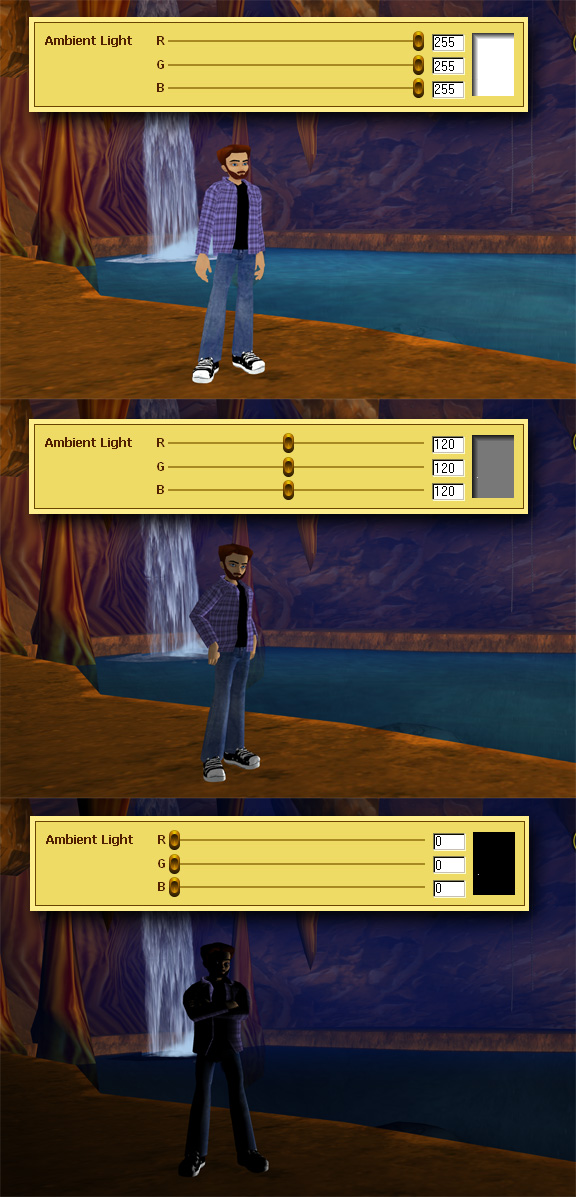
In the below example, there is one light placed in the middle of the pool. When the Ambient color and intensity is moved to its brightest setting (top image), you can see no evidence of the added light because the brightness of the Ambient light washes it out. As the settings are turned down (middle and bottom images) the added light become visible.

How to add lights to your Mesh:
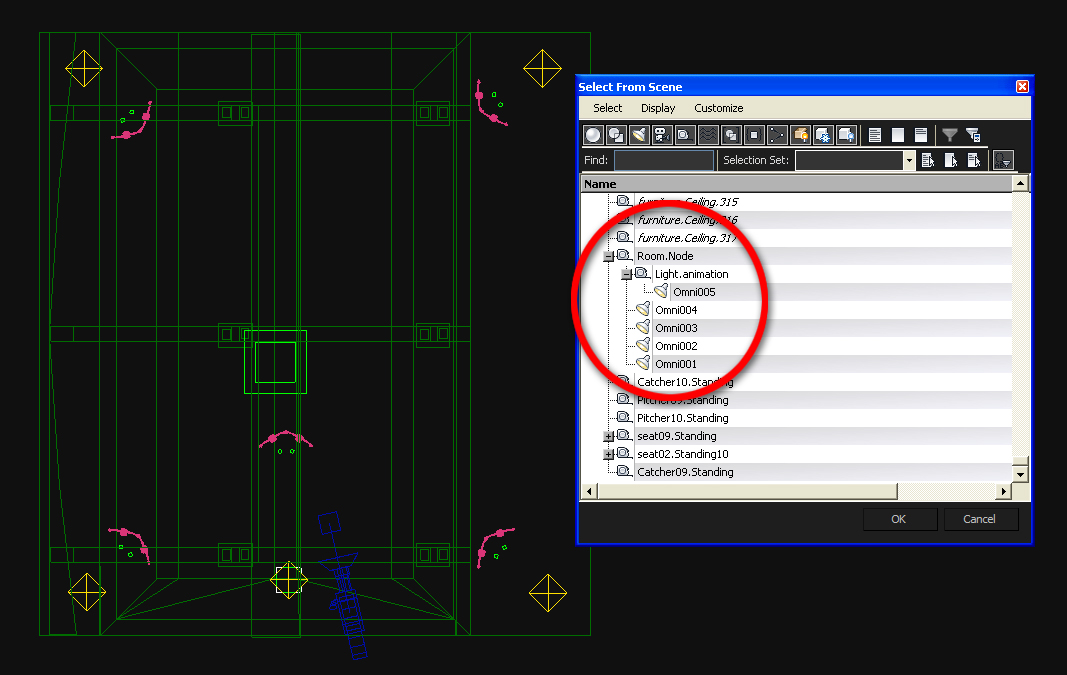
In the below example image this Node is called “Room.Node”. In the example room there are 4 stationary Omni Lights and 1 animated Omni Light. Each light has its own color, and each is Linked to the Room.Node, with the acceptation of the animated Light, which is Linked to an animation node, which is then linked to the Room.Node. As long as everything is Linked properly there is nothing else you need do other then to Export the XSF file as usual.
 Have fun and play around with multiple lights in your products, see what effects you can come up with!
