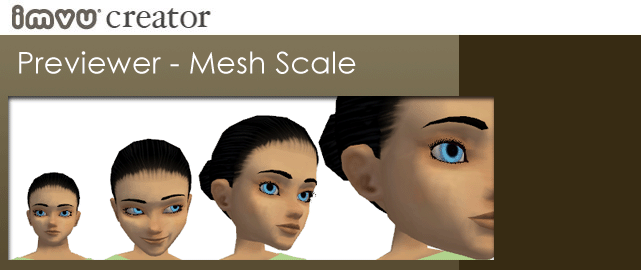
Introduction
In the Editor, you have no doubt noticed a panel in the Meshes tab labeled Mesh Scale. The features used in this panel have been built specifically for use with avatar head products. So, if you want access to this panel, you need to derive from a head product.
A little history: IMVU began with only one head size per gender that fit an anime aesthetic style. As you know if you’ve read the Avatar Heads Tutorial, most heads built for IMVU avatars are meant to work seamlessly with thousands of existing hair and head-accessory products. Considering that the original head really does not have human proportions, the ability to make a human-looking head (or even a different, anime head) can be challenging.
Enter: Mesh Scale. With the Mesh Scale feature, you can tell IMVU to scale any vertices weighted to the Head bone in the avatar skeleton. What’s more, you can tell the mesh scale to apply to accessories whose skeletons happen to be attached to the Head bone. This all means that you can scale your head mesh without worrying about whether accessories and hair products will be broken. It all just works!
Derive from a Head Product in Create Mode
Open Create Mode, click the Derive a new product button and choose to derive from a head product. For the purposes of this tutorial, choose to derive from product 59412.
However, please know that the steps in this tutorial can be applied to any head product.
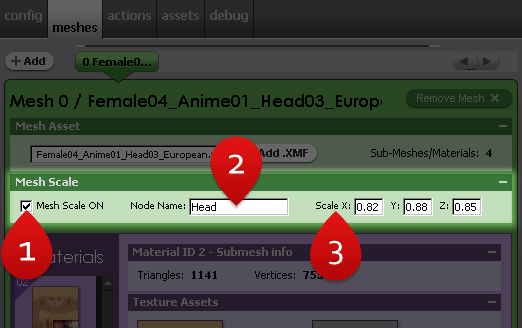
1. Mesh Scale – Turn It On
When the Editor opens, click to expand the Mesch Scale panel. If you have derived from 59412, then you will see that the Mesh Scale paramters have already been turned on and tweaked. However, let’s pretend that nothing was on and nothing was set.
The first thing you need to do in the Mesh Scale process is actually turn the feature on. You do this by checking the box next to Mesh Scale ON and hitting Apply Changes.

2. Mesh Scale – Which Bone?
Since the Mesh Scale feature was built to work specifically with avatar heads, you are meant to type Head into the Node Name text field.
3. Mesh Scale – Scale XYZ
This is the fun part! You can type different integers into the Scale X, Y and Z text fields. Then, hit Apply Changes and see how your inputs effect the head.
Mesh Scale – Play!
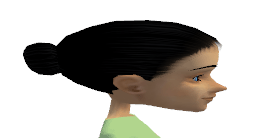
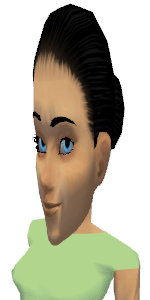
You don’t have to use the same numbers in all three input fields. For example, you can have both X and Y be .85 and then push Z up to 2.0. Then, you’ll have a really tall head. WOAH! It is in this way that you can adjust the dimensions of a head to fit your aesthetic tastes.


Apply Changes
Make sure you hit the Apply Changes button when editing the Mesh Scale fields. Otherwise, you won’t be able to see what effect your changes have on the mesh.
Save & Submit
Now you know how to scale an avatar head using Mesh Scale in the Editor. Pretty cool, huh? Just Save your file, create a screenshot and submit to show your creation to the world.

