This tutorial is an extension of another tutorial that is required reading in order to understand what we’re talking about. To learn more, please go to the Female Heads Tutorial.
This tutorial deals with minutia associated with weighting the Male avatar head.
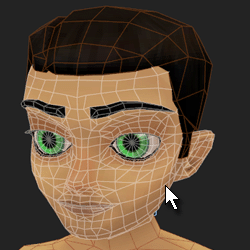
This tutorial assumes that you are using the Male03 _Anime01 _WeightingPoseMASTER.max that is found in MaleWeightingMaster.ZIP
This tutorial also assumes that you have already selected the male head mesh, applied the Physique modifier and Initialized it.
Main Head Verts
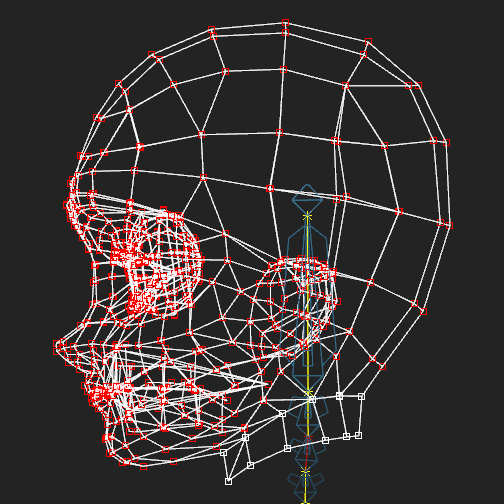
The Male head sits on the skeleton a bit differently than the Female and therefore requires somewhat different weighting. First, select the head verts just as you did in the Female Heads Tutorial/Physique Tutorial and assign them to the Head link.
Remember to click the ‘Lock Assignements’ button to actually weight the selected vertices.
Mid Neck Verts
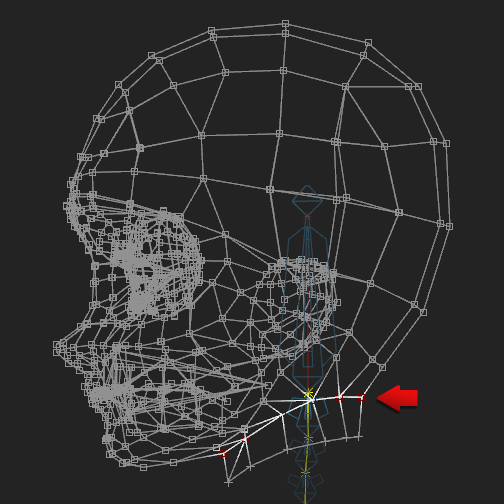
Then, select the mid neck verts and assign them to the Head link. Then, click Lock Assignments to weight the selected vertices.
Type-In Weights
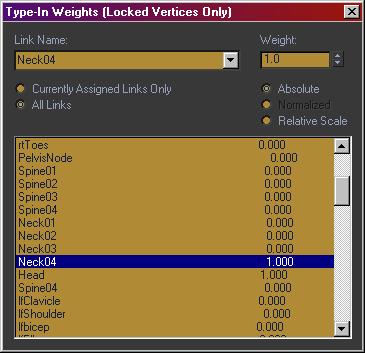
Click the ‘Type-In Weights’ button to bring up the Type-In Weights dialog box. Choose to show ‘All Links’, click on the ‘Neck04’ and drag the Weight up to 1.0.
This will weight the mid neck verts 100% to both the Head and Neck04 links. Essentially, this allows for a much more believable twist in the neck as the head looks around in IMVU.
Bottom Neck Verts
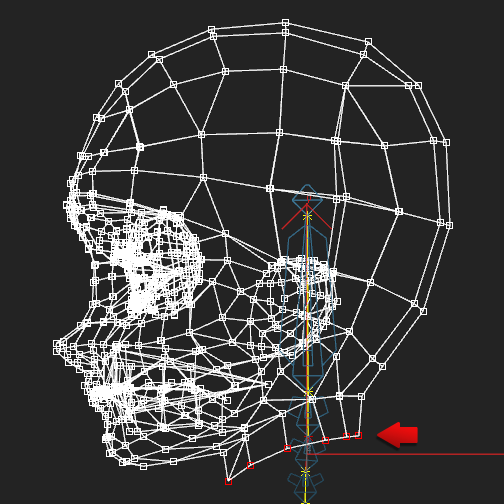
Now, select the bottom verts along the neck line and assign them to the Neck03 link. Then, click Lock Assignements to weight the selected vertices.
Test, Iterate and Export
Close the Type in Weights dialog and click on the top level Physique modifier in the stack to get out of vertex edit mode. Grab the head bone and rotate it around to see how your head moves. The head should feel like a solid mass moving with the Head bone – no part of it should be mis-shaped. The neck should move slightly with the Head bone.
If you see any vertices that do not move with the head bone, then they were not weighted correctly or at all. Go back, select those verts and weight them using the process above.
If all looks good, you have completed weighting the head and you can export.
