
Introduction
A mesh does not know how to move with a skeleton unless the vertices of that mesh are ‘weighted’ to a bone in the skeleton. If a mesh is not ‘weighted’, then it will not show up in IMVU as it simply won’t know what it ought to attach to. The most common ways to ‘weight’ a mesh in 3DS MAX are by using the Skin modifier or the Physique modifier. Each of these modifiers tells a vertex which bone it ought to move with. The Skin modifier is the easiest to use but is the most limited. Therefore, it is mostly used for meshes that do not have organic movement – ie. Furniture, Rooms, Accessories, Modicons.
Avatar Heads, Clothing and Pets, on the other hand, typically require more organic movement. Said another way, an avatar head needs to move with both the head bone and also the neck bones below it. In this case, you would use the Physique modifier. Physique is harder to use than Skin but allows for a much finer degree of control.
Select the Mesh

In the case of the female avatar head, the Female04 _Anime01 _WeightingPoseMASTER.max file that is found in FemaleWeighting.ZIP already contains Physique weighting information. However, we are going to pretend like we are building a new head and need to assign a new Physique modifier to that new head.
Once you have finished building the geometry, assigning the material IDs, mapping the textures, and building the morph targets, its a good time to add Physique.
The first thing to do is select your Parent Mesh.
Add Physique
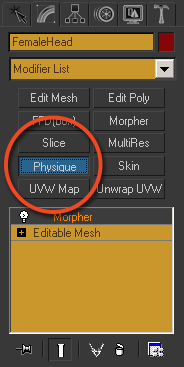
With your Parent Mesh selected, add a Physique modifier to it (if you don’t have Physique in your set of buttons, you can add it by clicking the setup button in the stack).
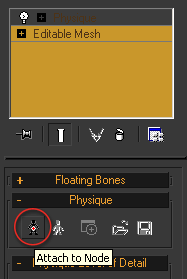
Attach to node
Once you have added a Physique Modifier to your mesh, its time to get it set up for editing. Click the ‘Attach to node’ button in the physique panel.
Select the Parent Object
The next thing to do is pick the bone in the skeleton that will drive the weighting information. This implies that the skeleton you are working with has been set up to work with Physique. The IMVU avatar skeleton works great – so don’t sweat making Heads or Clothing. However, if you must know (“I must. I must”), a skeleton for use with Physique needs an extra bone at the end of every chain in the hierarchy. For example, this is why the ‘xTipBone33’ bone lives just below the ‘Head’ bone in the IMVU skeleton hierarchy.
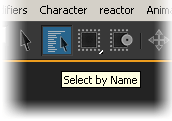
Anywho, although you *can* just click on the bone in the scene, it is possible to mistakenly click on another bone or mesh by accident. So, I never take chances and, instead, just click the ‘select by name’ button
Pick Object Dialog Box
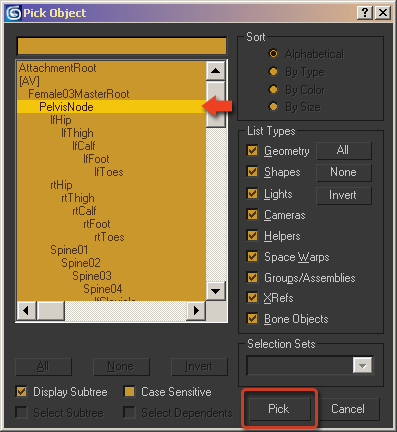
In a properly teched skeleton, there will be a bone that lives between the Root bone all other bones. In the case of the IMVU avatar, this is the Pelvis bone.
Pick the Pelvis bone in the list and then click the ‘Pick’ button.
Initialize
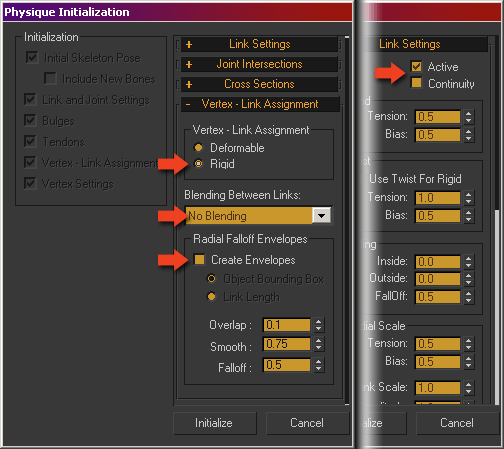
When you click the Pick button, the ‘Physique Initialization’ dialog box will appear. This is the place where you set the overall properties of your Physique modifier. There are a few settings that ought to be considered when using Physique.
Although playing with the settings is always a good idea, I recommend you do the following:
Then, click ‘Initialize’.
Vertex Edit mode
With your Physique modifier initialized, enter Vertex edit mode in the modifier stack. Typically, simply editing this mode also puts you in ‘Select’ mode as well. This is good. You want to be in ‘Select’ mode as you are about to select vertices in the mesh.

Select Vertices
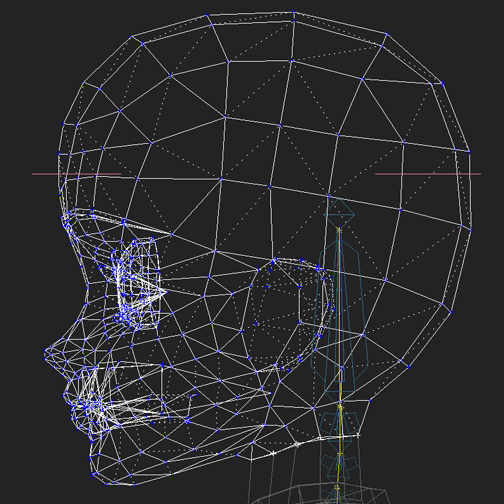
In the case of the avatar head, it is always handy to select vertices from either the left or right hand view. The first vertices you are going to select are the ones you want to weight to the head bone. So, you select all of the vertices of the head *except* the ones that you want to move with, say, the neck.
Said in a way that applies to all meshes, you want to select all of the vertices that will be weighted to a given bone…and no others.
When you first enter Select mode, all of the vertices appear as white plus signs (using the default MAX weighting color set up). The plus sign means that the vertex is ‘open’ or that it doesn’t yet have weighting information. When you select a vertex that has no weighting information, it turns blue.
Assign to Link
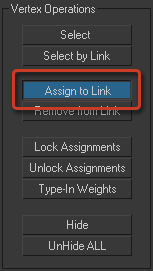
Once you have all of the correct vertices selected, click the ‘Assign to Link’ button. Hover your mouse over the link you want to weight your vertices to. The link is the thin red or yellow line that travels througout the skeleton – from bone to bone. When you hover your mouse over, say, the Head bone, it will change to a cross hairs. This means that there is a link available to assign to.
Click on the Head link.
Red = assigned
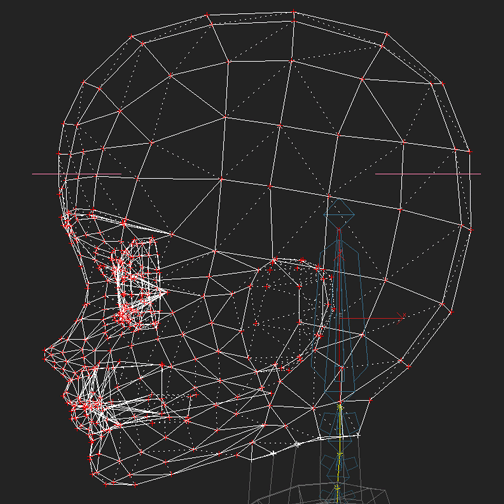
All of the vertices that you had selected should now have turned red. This means they have weighting assignments. However, they’re not weighted yet.
Lock Assignments
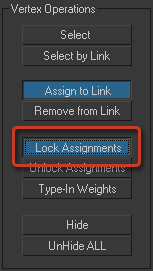
With a link assigned to your verts, its time to lock those assignments. So, click the ‘Lock assignments’ button and note how all of the red plus signs become red squares. Those vertices are now weighted.
Now you know how to weight vertices to one link using the Physique modifier. Aw yeah.

Select Again
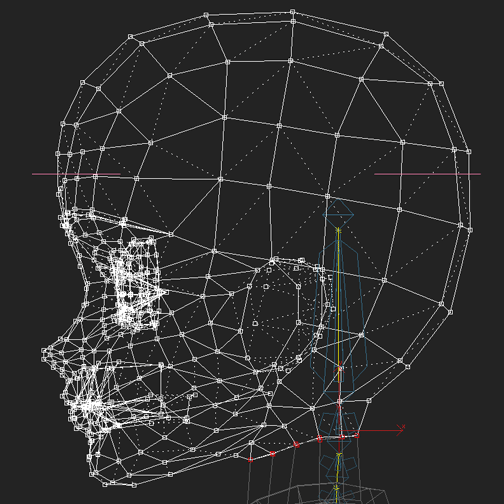
Now click the ‘Select’ button and select all of the neck verts. Just like you did with the first set of verts, click ‘Assign to Link’. However, this time, select the next link down from the Head bone, the Neck04 link, and then click ‘Lock Assignments’.
Type-In Weights
In contrast to the last batch of weighting you did on the Head vertices, the Neck vertices are going to be weighted to more than one bone. This means that they will be influenced by the movement of both bones you weight it to. Essentially, this is the power of Physique.
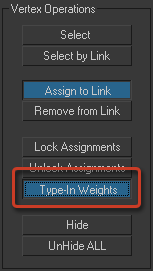
Click the ‘Type In Weights’ button.
Type-In Weights Dialog Box
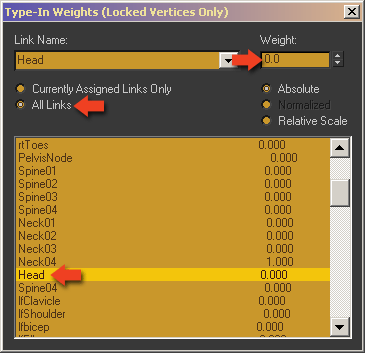
In the dialog that follows, click to show All Links, click on the Head bone listing and then drag the Weight slider up to 1.0.
You have just set the neck vertices to have the same weighting as all of the corresponding neck vertices in the female avatar tops:
Head: 1.0
Neck04: 1.0
This means that your head will work seamlessly with all of those tops (ie, not tear. Yuck.) Of course, it is still possible that someone out there made their top wrong…
When you’re done setting the weights on the selected vertices, just close the Typ-In Weights dialog box.
Test, Iterate and Export
Close the Type in Weights dialog and click on the top level Physique modifier in the stack to get out of vertex edit mode. Grab the head bone and rotate it around to see how your head moves. The head should feel like a solid mass moving with the Head bone – no part of it should be mis-shaped. The neck should move slightly with the Head bone.
If you see any vertices that do not move with the head bone, then they were not weighted correctly or at all. Go back, select those verts and weight them using the process above.
If all looks good, you have completed weighting the head and you can export.
