Wonder how creators take a mesh and make the jacket part “layerable” (without the skin clipping through or body parts missing)?
In this tutorial you’ll learn how!
Make a “Layerable” Jacket
We’ll be using this (http://www.imvu.com/shop/product.php?products_id=35474072 ) top and jacket mesh by MeshHome.

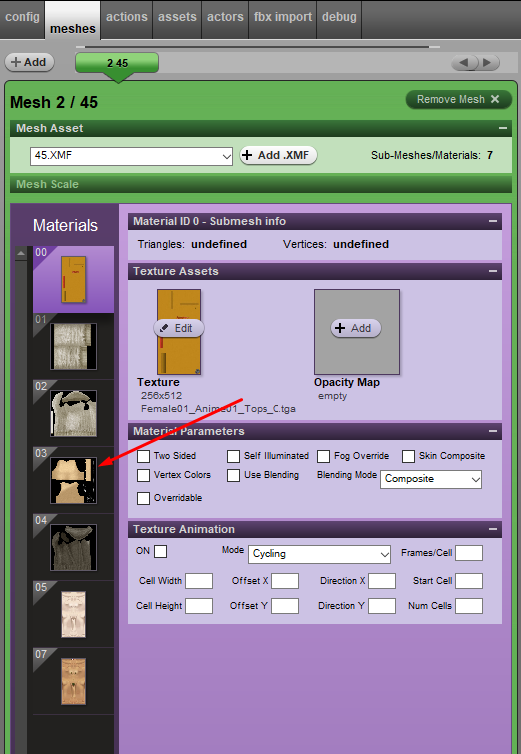
Step 1: Opacity Map

Step 2: Upload texture
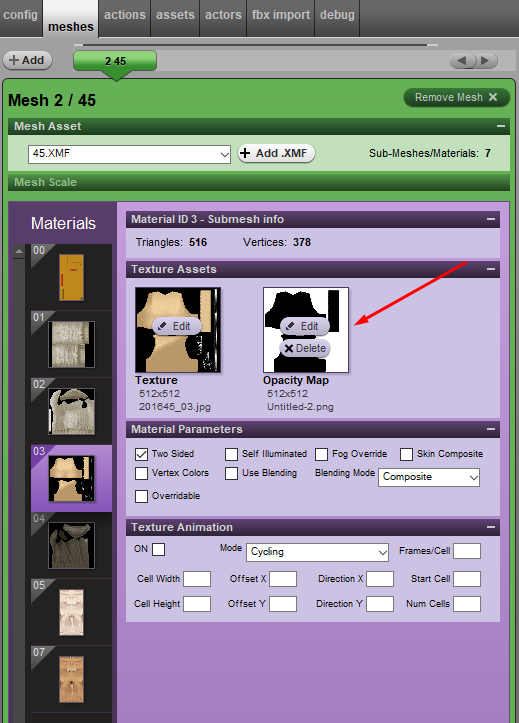
Step 3: Apply Changes

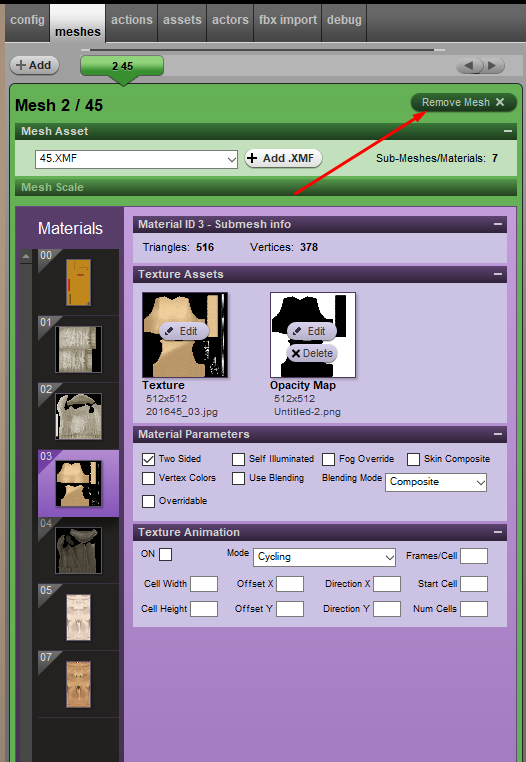
Step 4: Remove Mesh
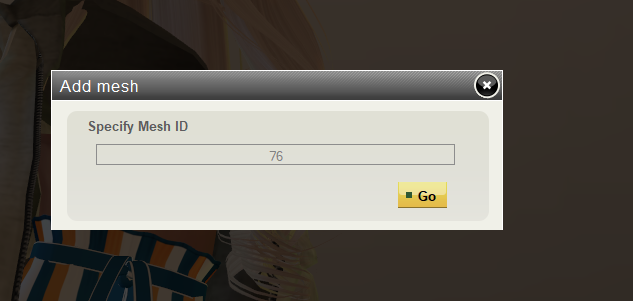
Step 5: Add Body ID
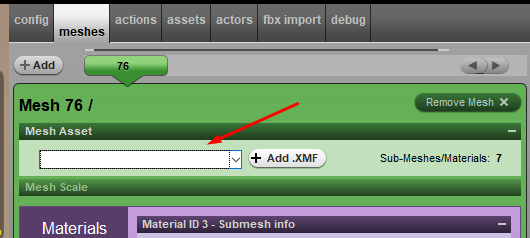
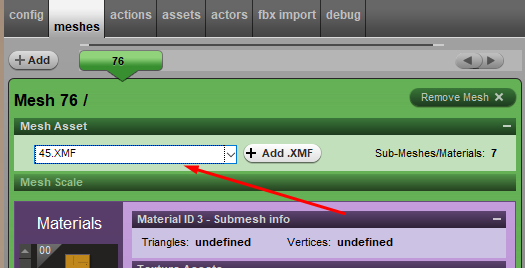
Step 6: Reselect XMF


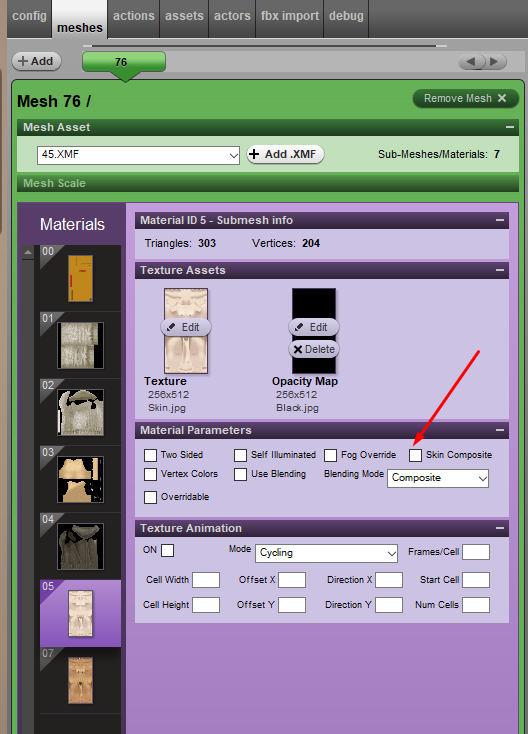
Step 7: Remove Skin Composite option
Step 8: Submit