1. Home
  2. EZ Tee – Create a Shirt in Minutes!

EZ Tee – Create a Shirt in Minutes!

Introduction

Want to dive in and make your first t-shirt? We know the feeling!

This tutorial will take you through each step of coloring and adding your own design to a t-shirt in Adobe Photoshop, but is easy enough to follow in other programs.

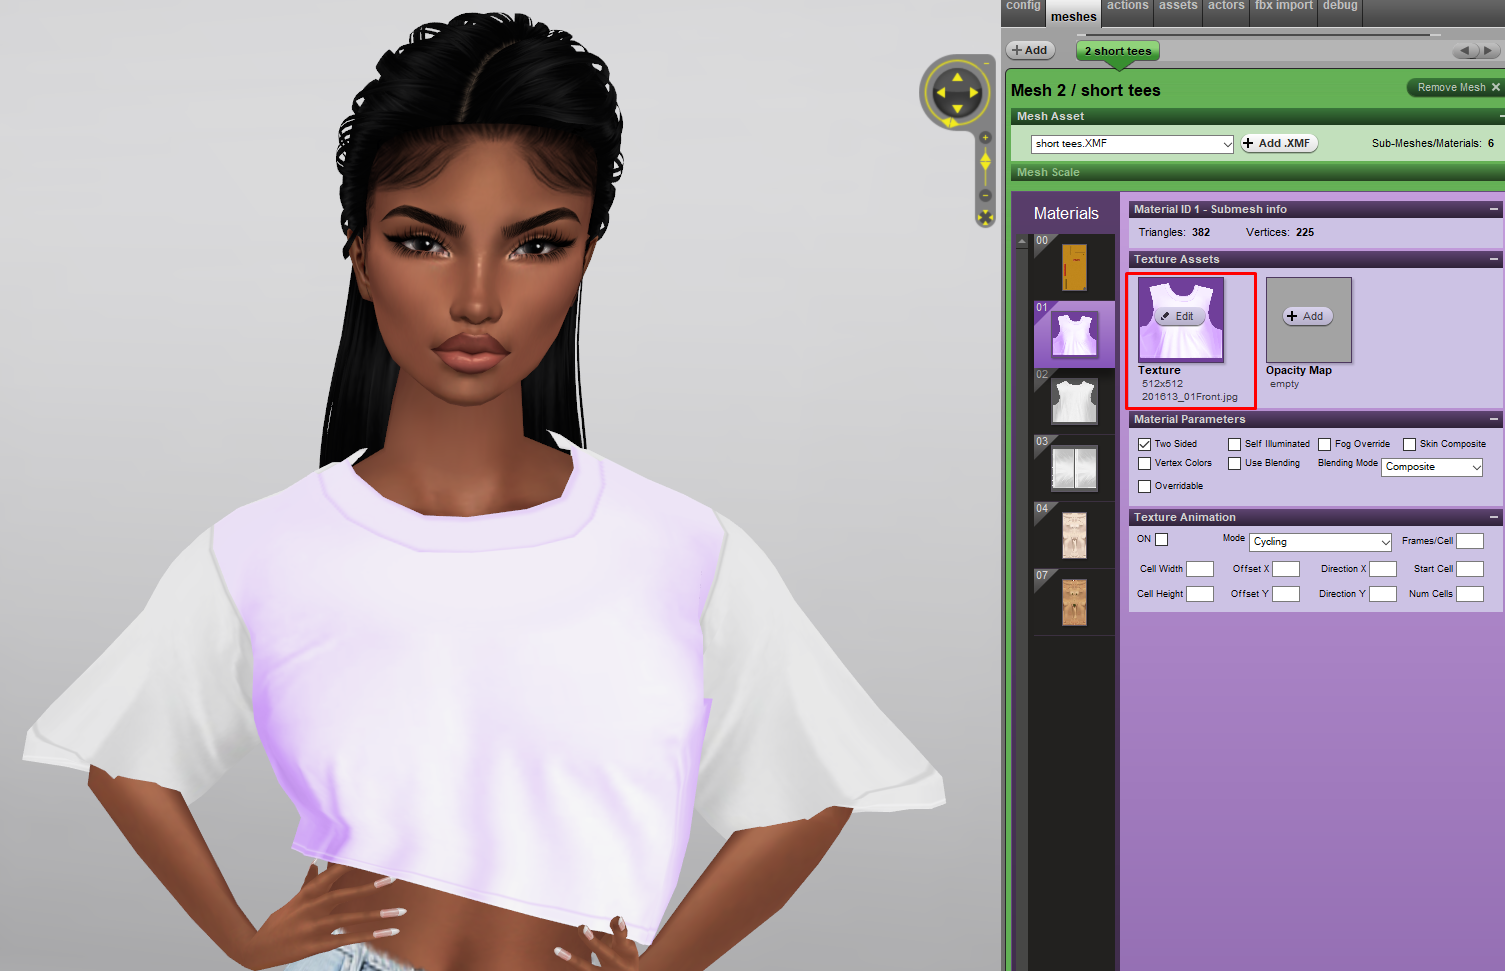
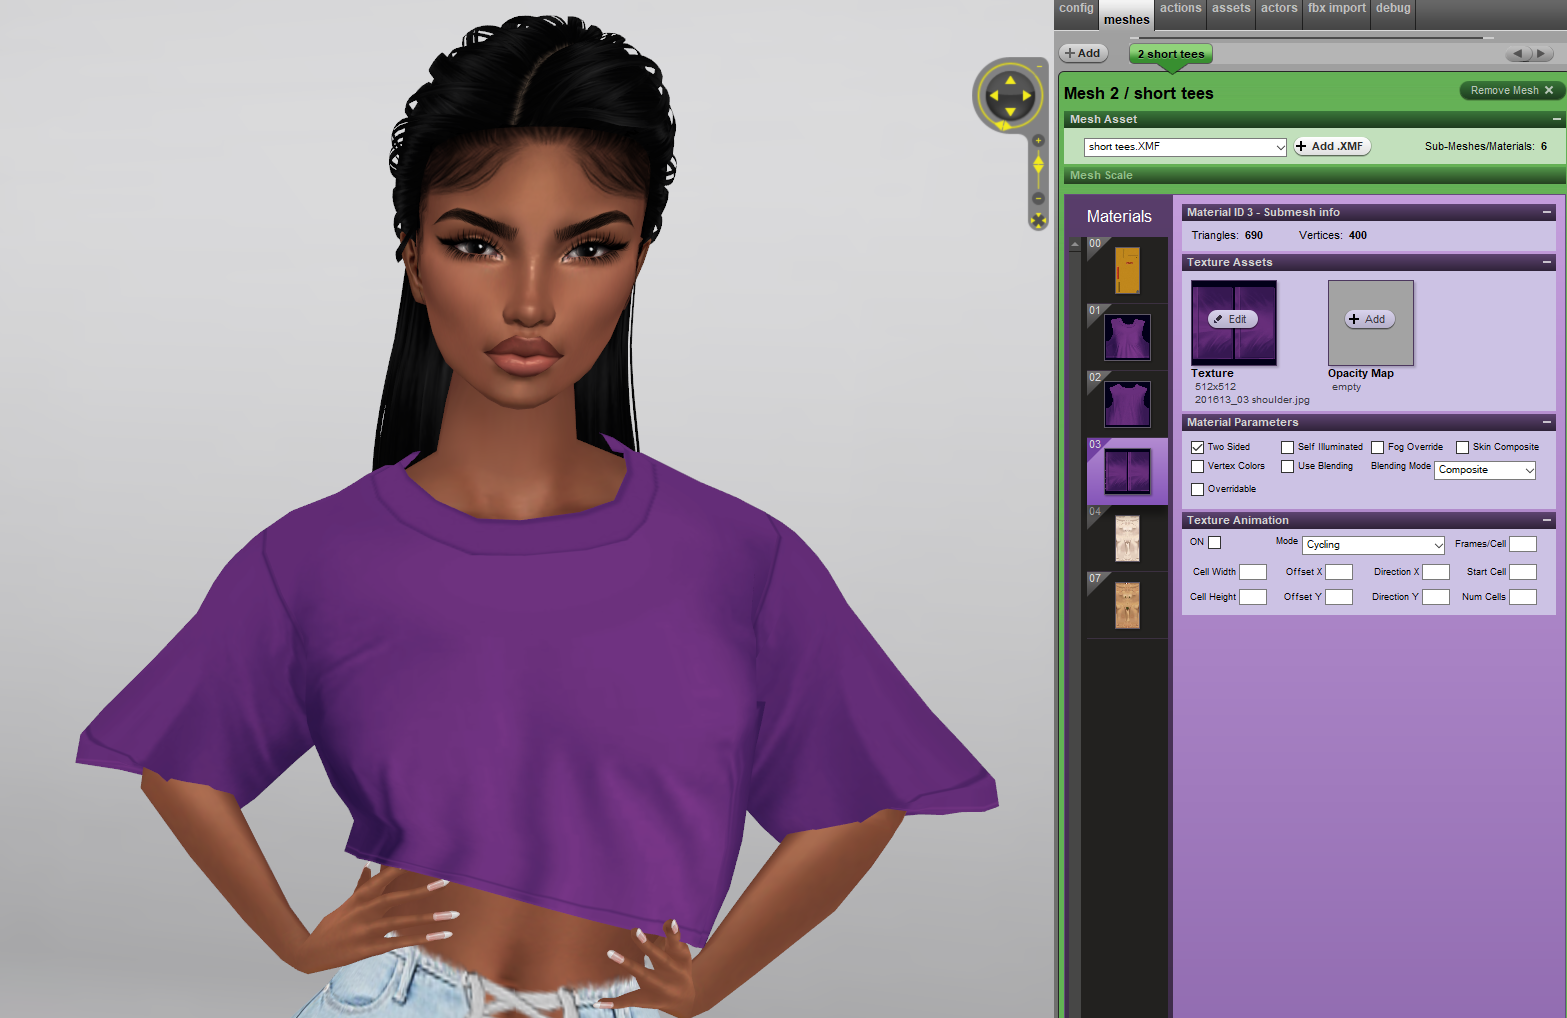
First things first, a lot of meshers on IMVU will provide textures for their mesh. For this tutorial we have collaborated with MeshHome, who submits a lot of pre-textured meshes, making it easy for you to jump right into creating!

For the tutorial we will be using this mesh in particular: https://www.imvu.com/shop/product.php?products_id=34767742


On the product page you can see the texture maps are linked. Go ahead and download these to your computer.

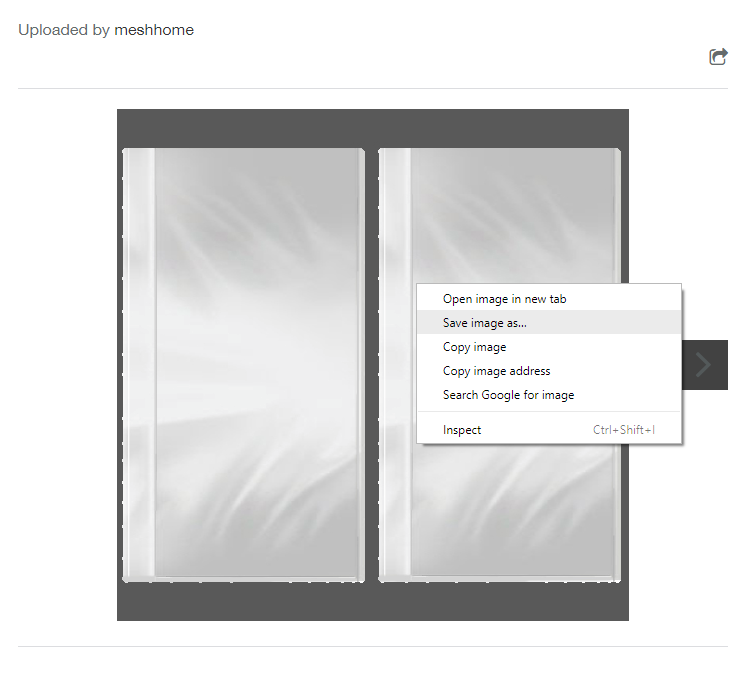
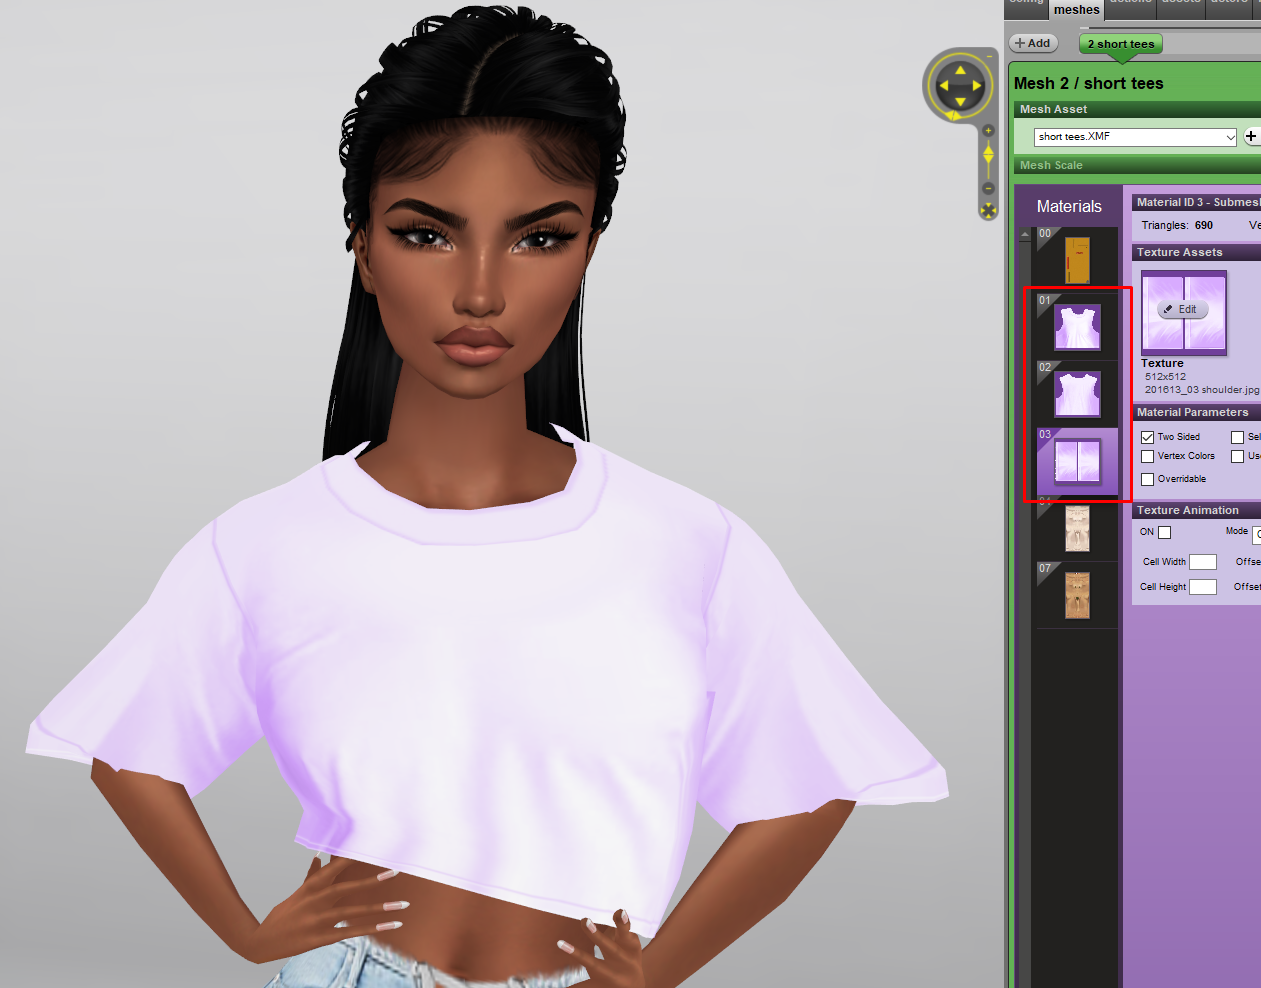
For this top there are 3 texture maps. A front, back and then the sleeves. Make sure you do all the same steps for each part of the texture!

Open your texture file in photoshop.


The easiest way to change the color of this texture is to make a new layer…

and use the fill tool to fill the layer with whatever color you desire for your tee!

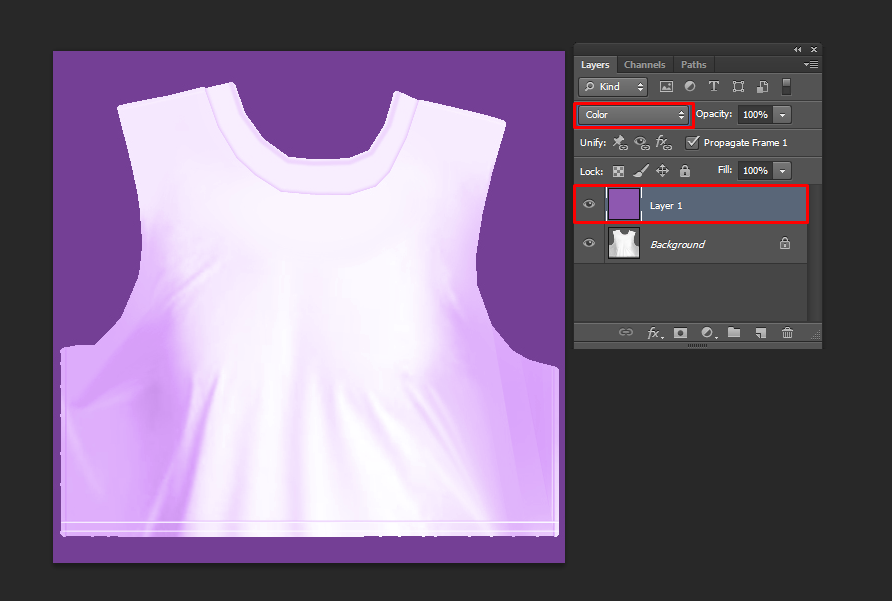
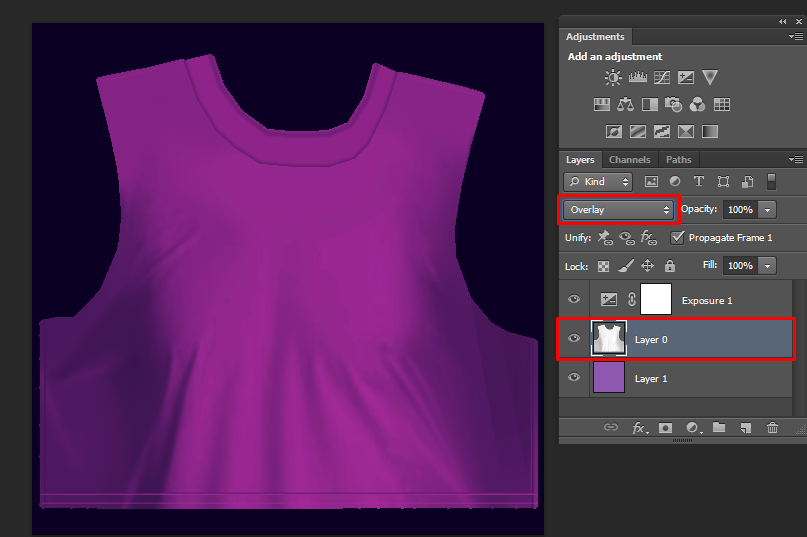
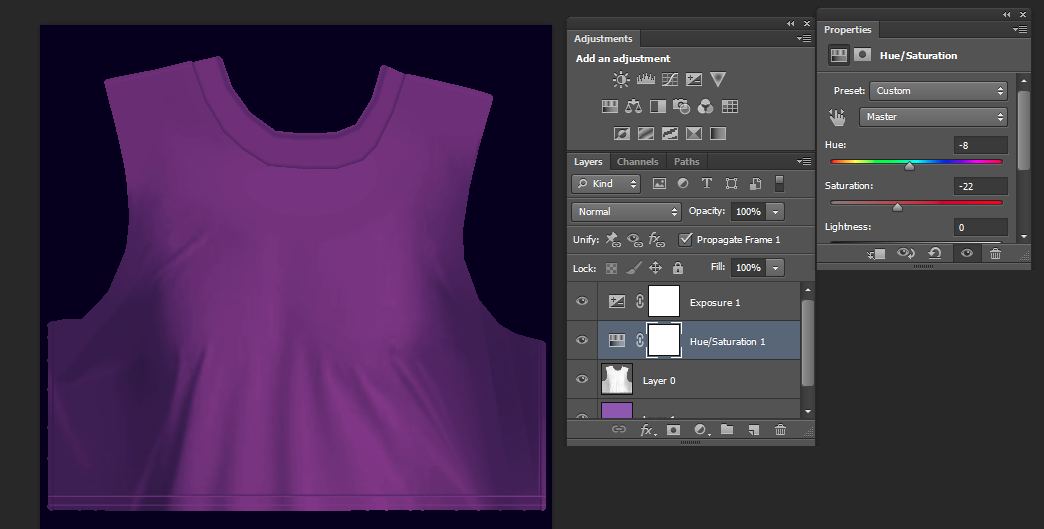
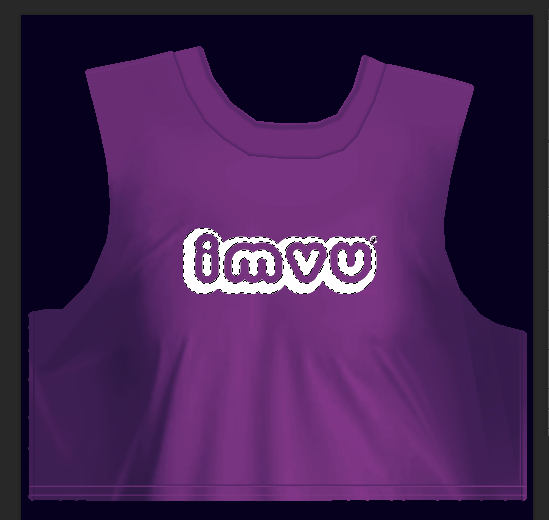
We are going to go with an IMVU purple.


If your layer filled in with a gray color, that usually means your photoshop has set to ‘Greyscale’. To change it go to mode > RGB.

Change the layer mode to ‘Color’ and now you can see your texture has changed!

You can save the image and upload it into Create Mode to see how it looks! Make sure to click apply changes.

And here is how it looks with all 3 textures following the same steps…

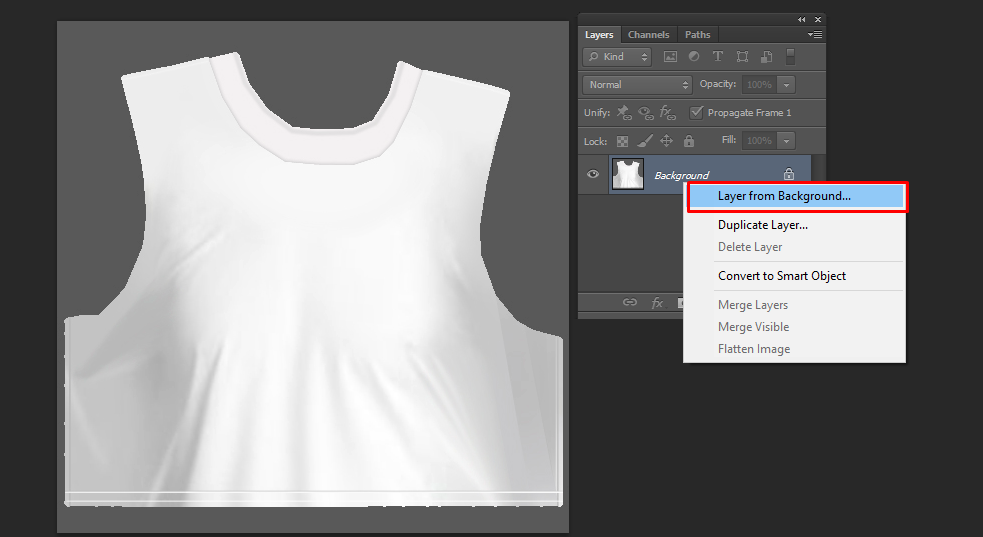
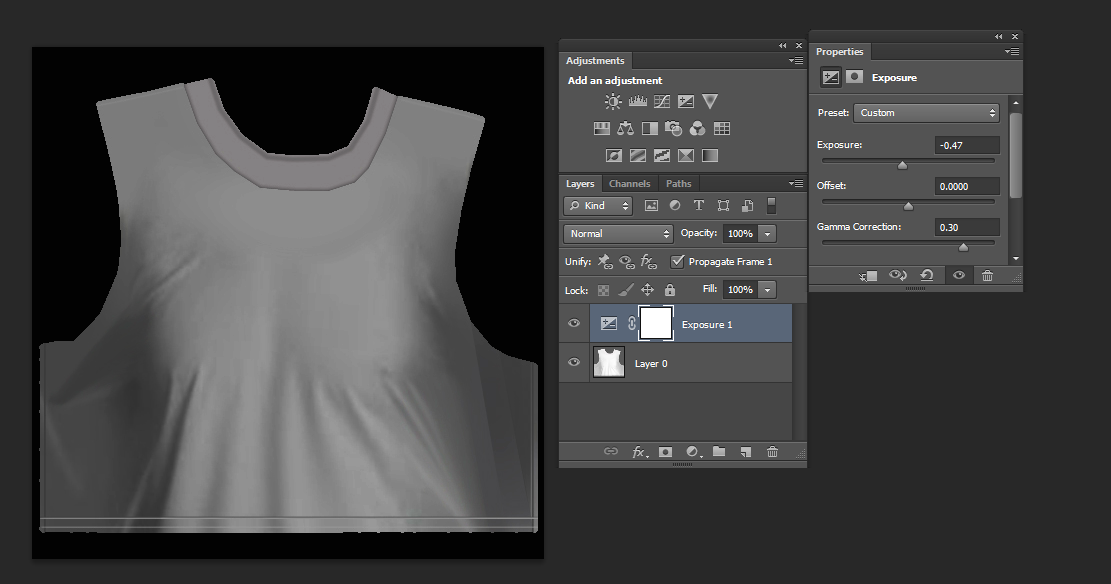
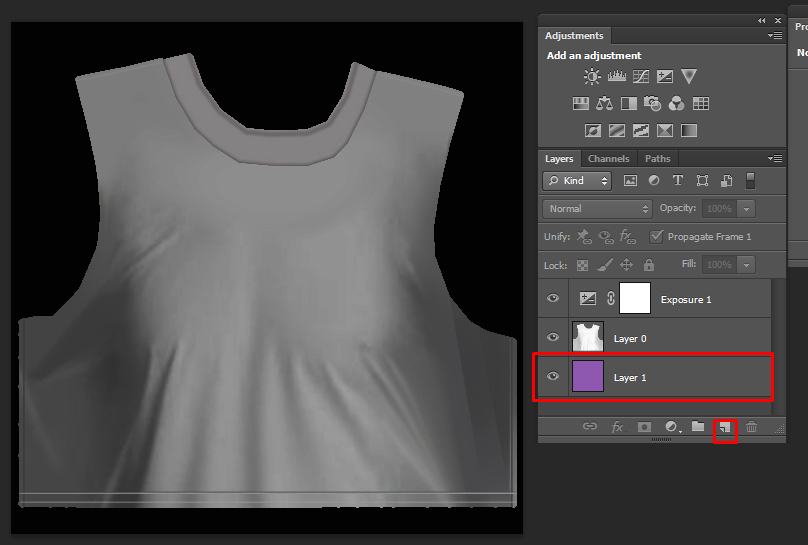
Changing color – more advanced

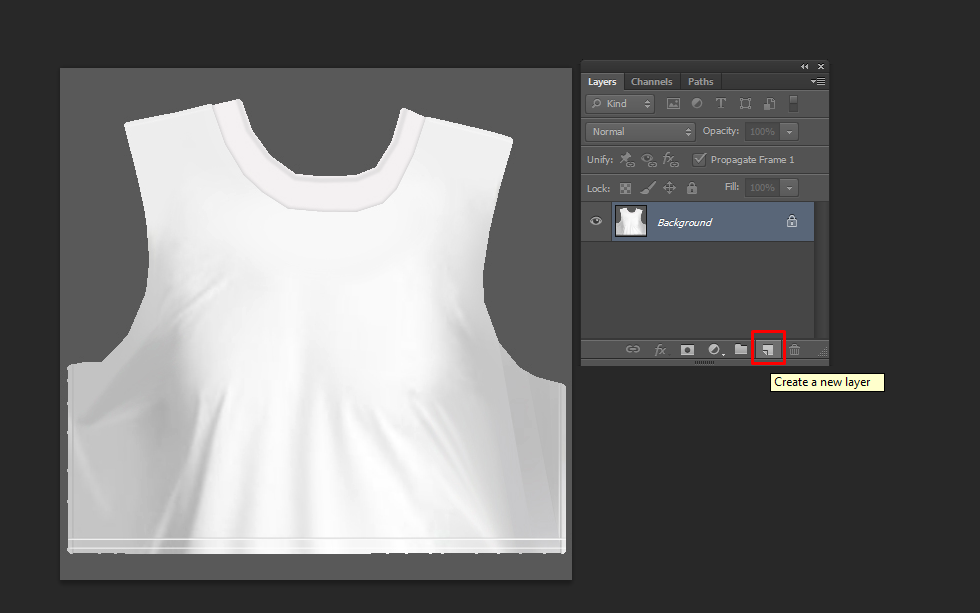
Another way to change color, which is a little more advanced, is to create a layer from background on your texture. To do this right click on the layer

Use the adjustments > exposure

to make the textures highlights and shadows a little more defined, something like this:

Make a new layer and place it UNDER the texture. Fill this layer with your desired color.

Set the texture layer mode to ‘overlay’.

Then using adjustments such as hue & saturation you can play around with the settings to get your desired color.

This method helps the shadows and highlights look more realistic on the color you want.

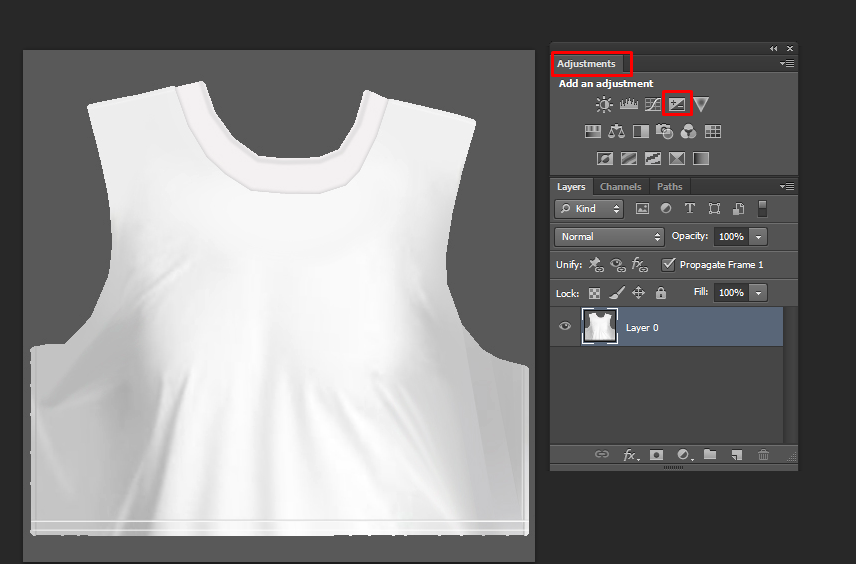
[End of advanced bit]

Adding Designs to your EZ tee

You can add whatever design you want to your tee, including text which is just using the Text tool and placing it where you want it on the shirt.

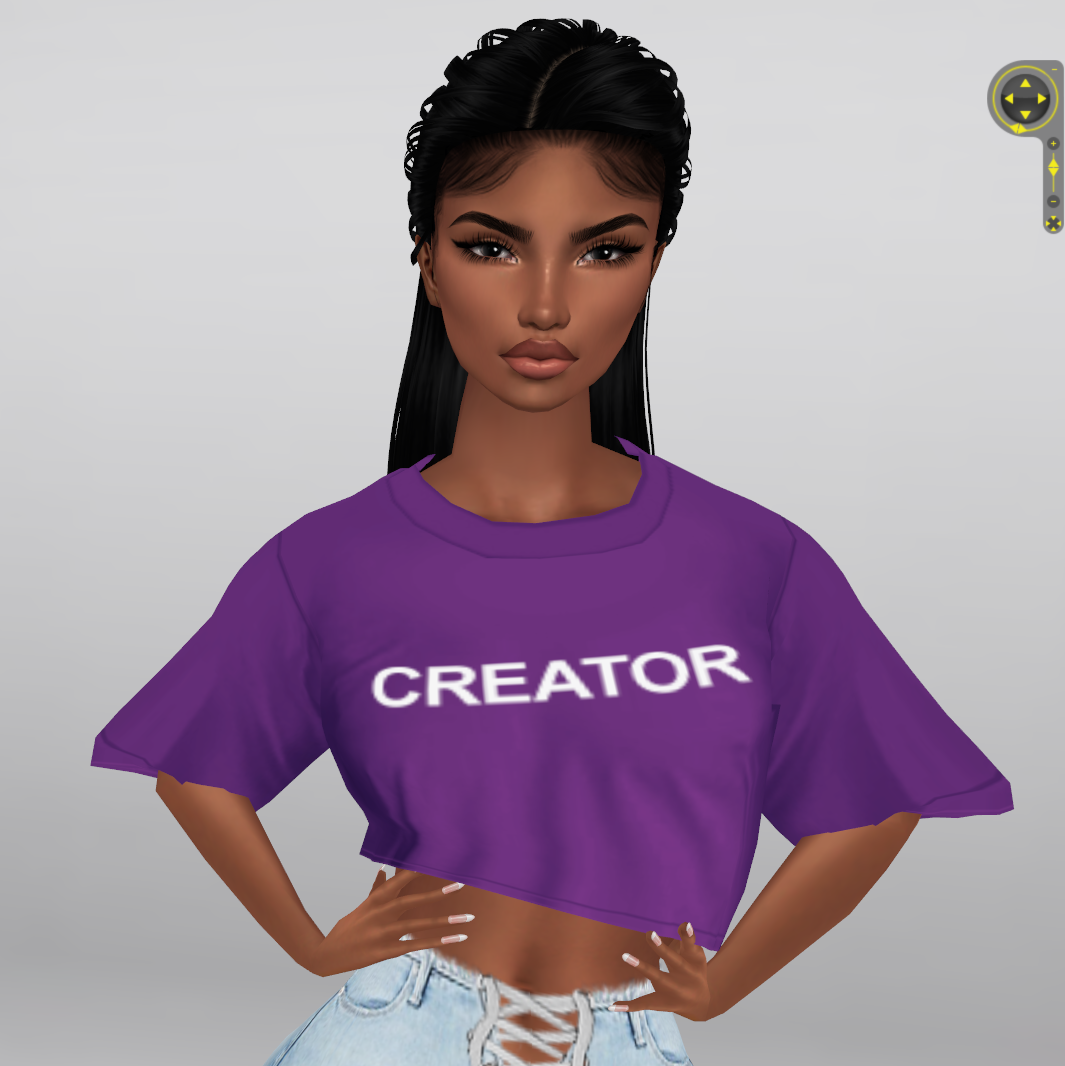
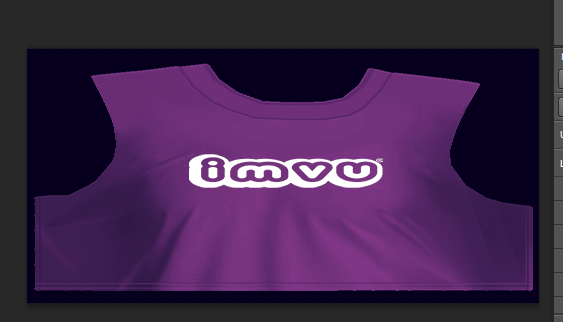
Or you can add an image design! For this tutorial we will use the imvu logo!

Drag the design from your folders onto your image to create a new layer. Resize to fit the texture.

Take note of the shading on the texture to see where to place the image. (I use the boob shading as reference)

I’m going to fill in the logo to be white, so it’s more visible on the shirt!

Save and upload it to IMVU to see how it looks.

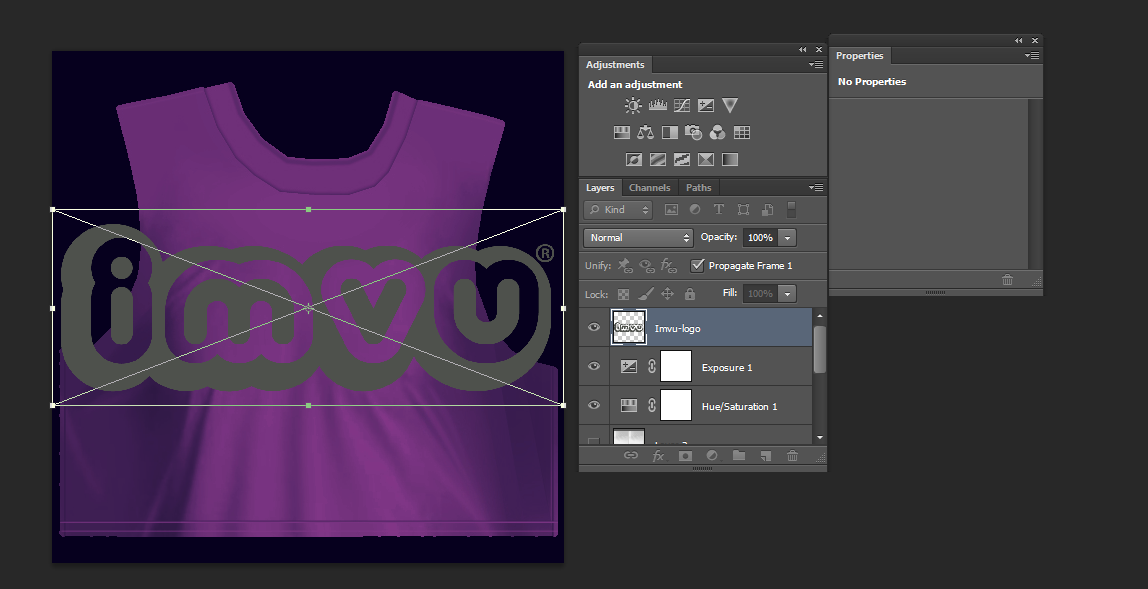
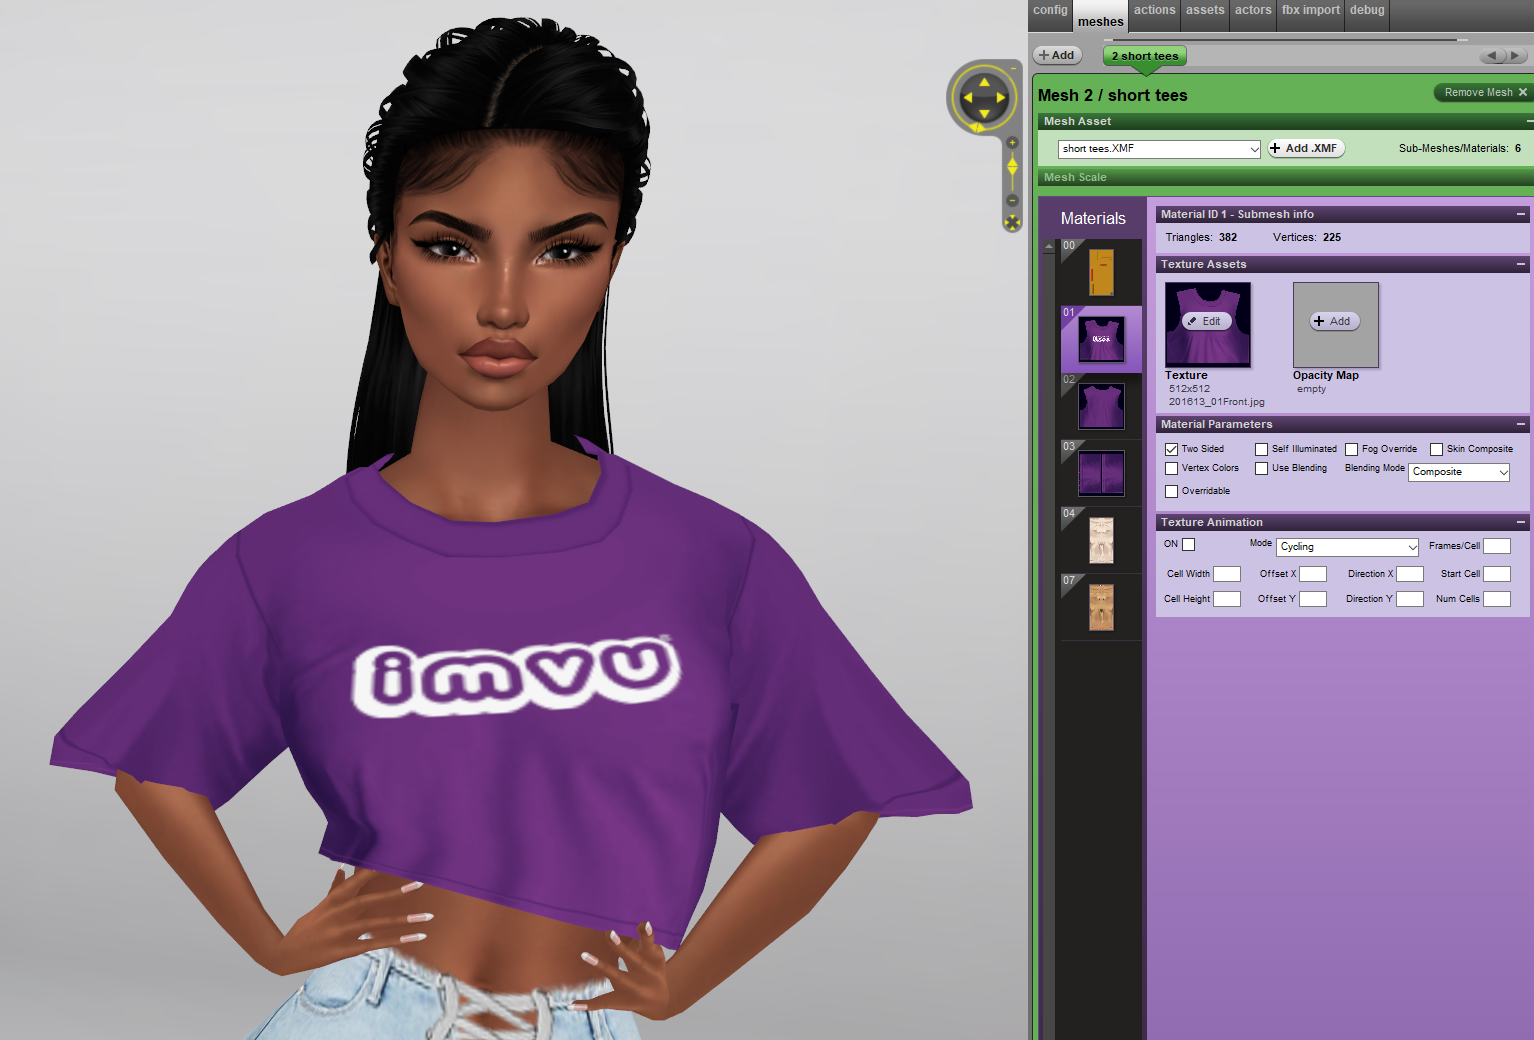
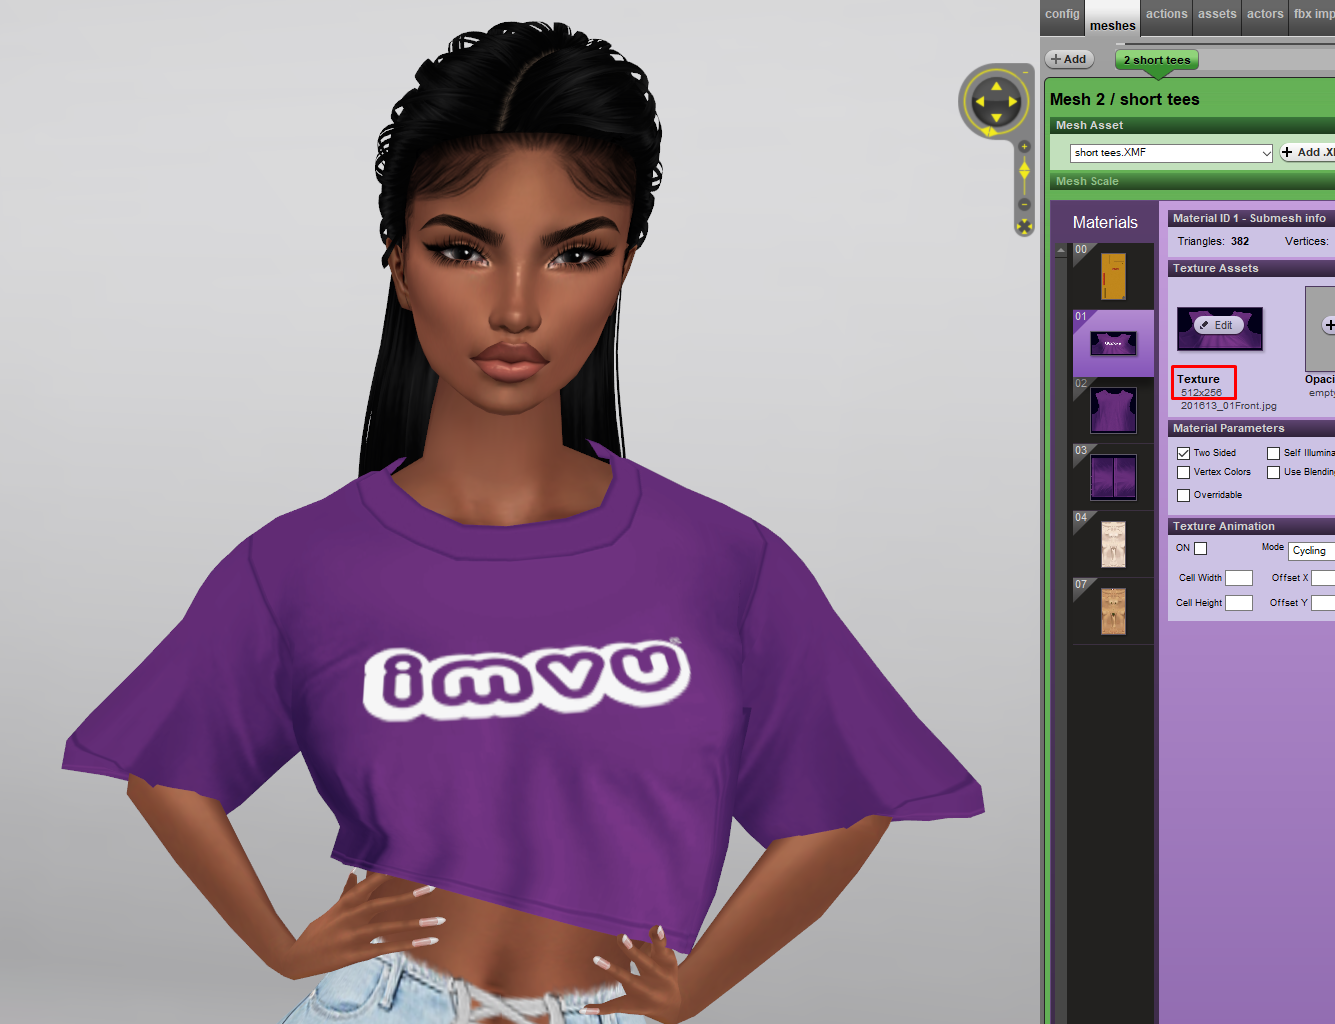
Looking decent… Wanna hear a tip?

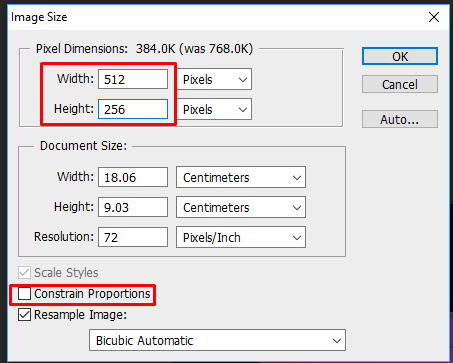
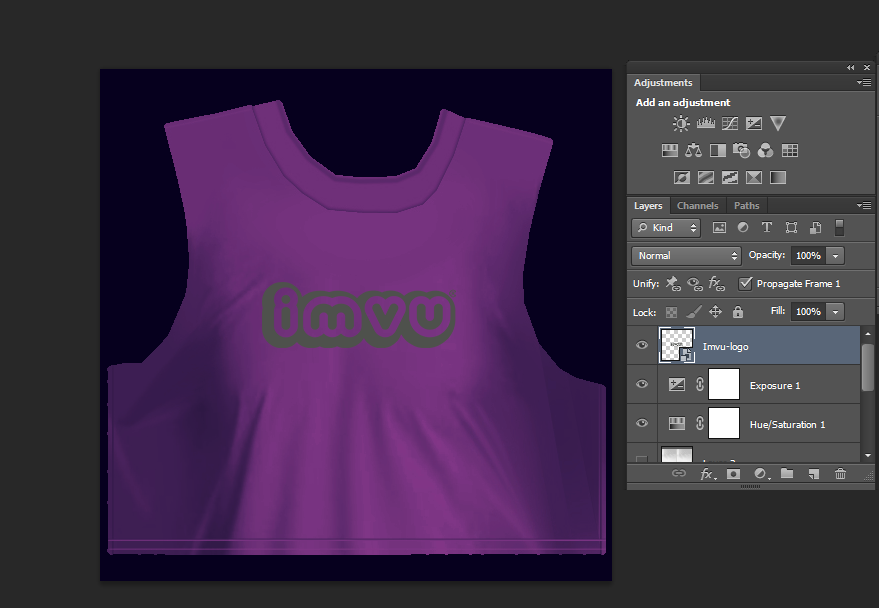
IMVU resizes textures, so this 512×512 texture is automatically getting squished down by the client.

To get a higher quality image, resize the texture yourself in photoshop to 512×256.

Now upload it to create mode and look at the difference!

Updated on July 21, 2023

Was this article helpful?

Discuss this!
Ask questions and get answers in our Creator Discussions.
BROWSE DISCUSSIONS