Although you can use several 3D programs to create animations, for the purposes of this tutorial, we will use 3DS MAX as our example. We also assume you have read the Animate in MAX tutorial.
Introduction
An animation that begins and ends on the same frame is called a ‘loop’. Looped animations are used EVERYWHERE in IMVU…ALL the time. The avatars use them, rooms use them, pets, furniture, accessories… they all use looping animations.
Not only are looping animations an incredibly useful tool but they also keep your IMVU product file size down. Smaller file size = faster download = great customer experience. To find out how *you* can utilize this great IMVU feature, read on.
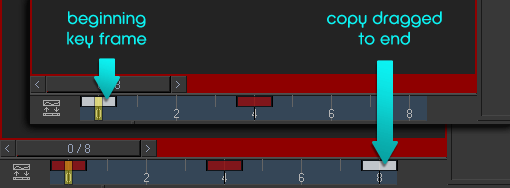
Setting up a loop is pretty easy in 3DS MAX.
Loop Complexity
 Smooth Loop Tips
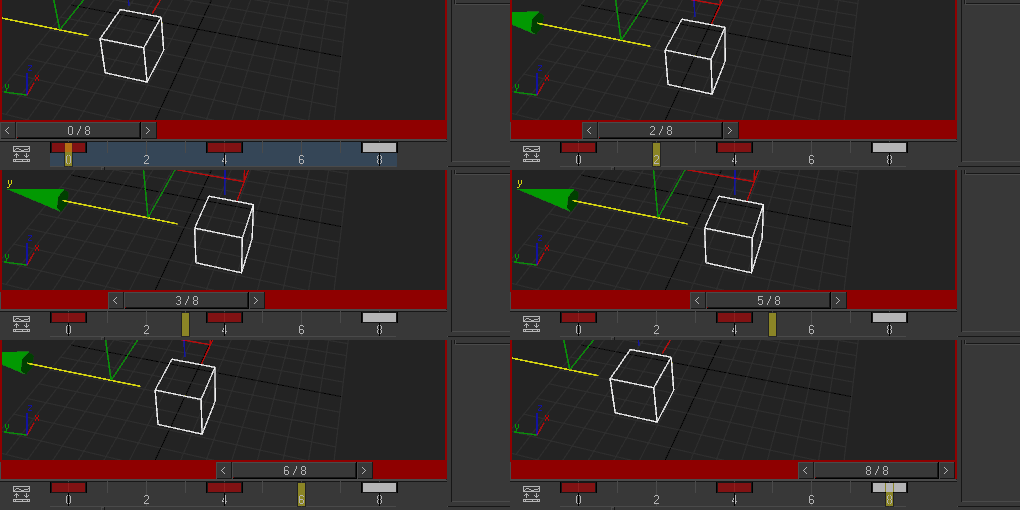
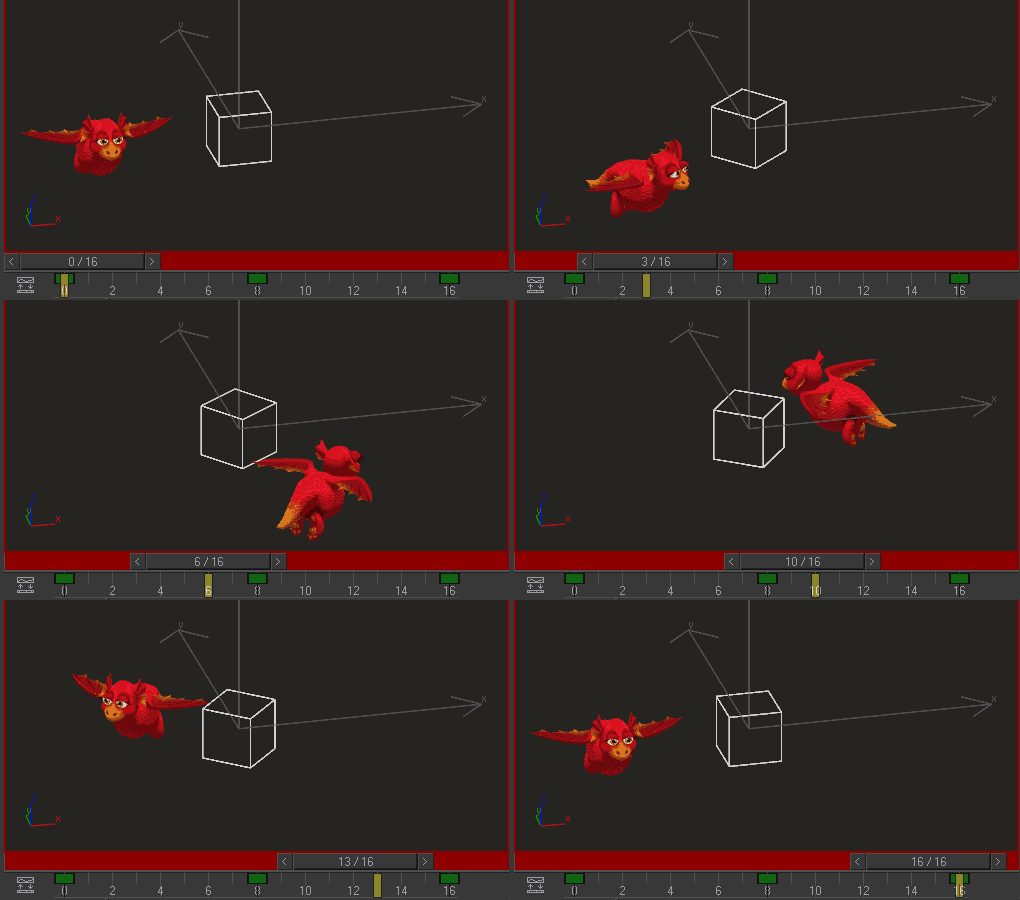
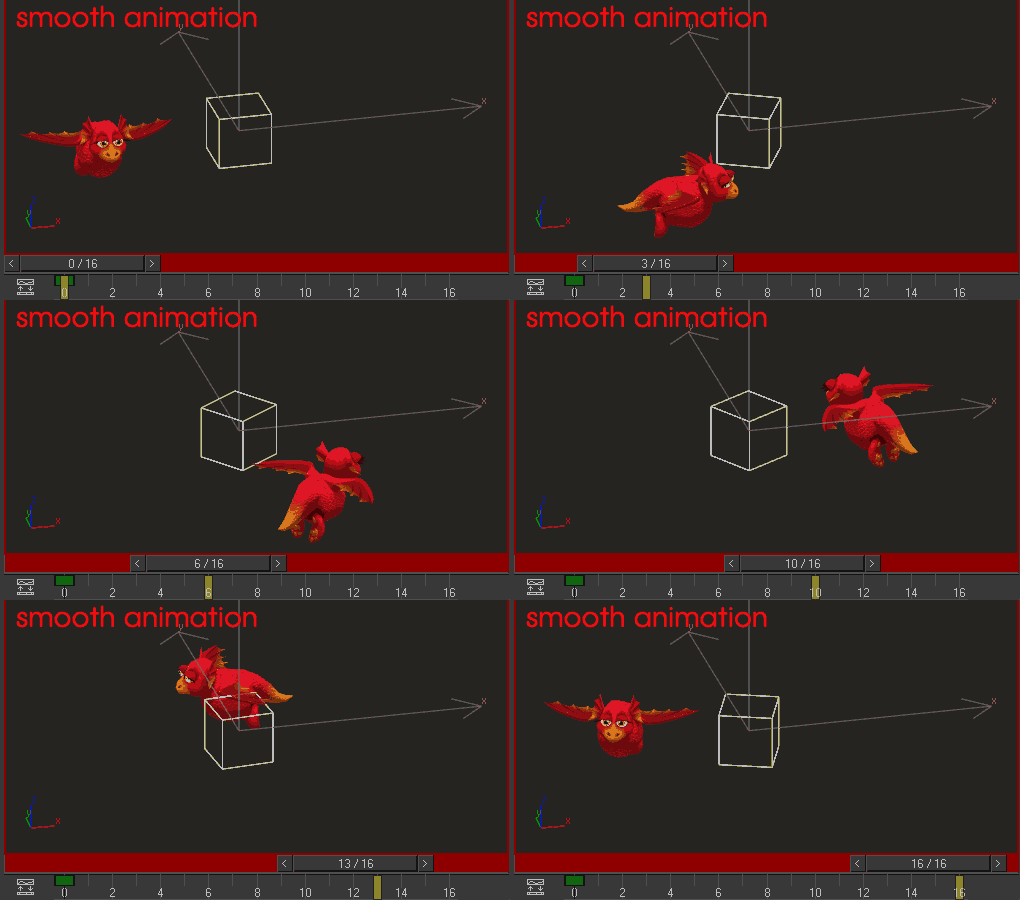
If you have a constant animation that you want to loop, like a rotating dragon, for example, there are two things you can do that will give you a much better and believable rotation.
Sometimes, MAX interprets this as a half a rotation – UGH! – and simply rotates half way and then comes back to the beginning. To avoid this ‘laundry machine’ effect, you must use the Curve Editor.
Curve Editor
This section is intended to give an overview of the Curve Editor in MAX. If you have already read about the Curve Editor, please skip on to the section below titled “Curve Editor: 360 Easy”.
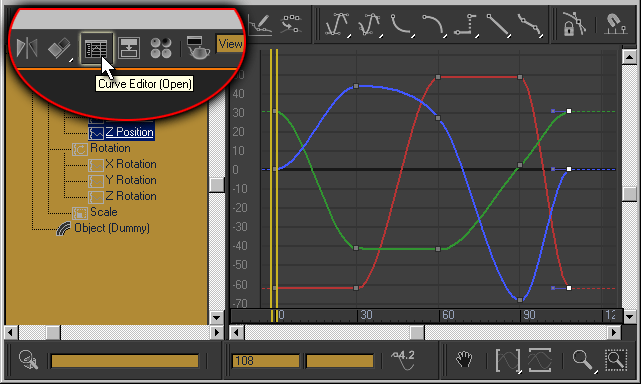
Using the Curve Editor is optional. The Curve Editor is a really handy tool for when you want to adjust how long on object waits between key frames. To open the Curve editor, Just click on the ‘Curve Editor’ button at the top right of MAX.
This will launch a new dialog window that should show all kinds of colored lines with dots on them. These are the XYZ curves of both the position and rotation of your object’s animation.
You can adjust the details of your animation using the tools provided in the Curve Editor. You can also make changes to individual channels of a key frame by moving the dots along the lines. This is one of MAX’s most powerful features as it lets you build an animation in keyframes and then adjust just when individual objects begin and end their animations. Also, you can use the Curve Editor whether you are in Animation mode or not.
Curve Editor Filters
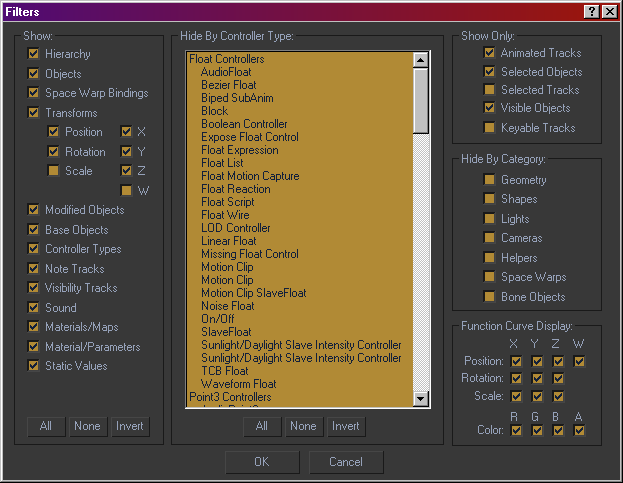
This will launch the Filters window. We typically use the settings provided in the image below.
Filters
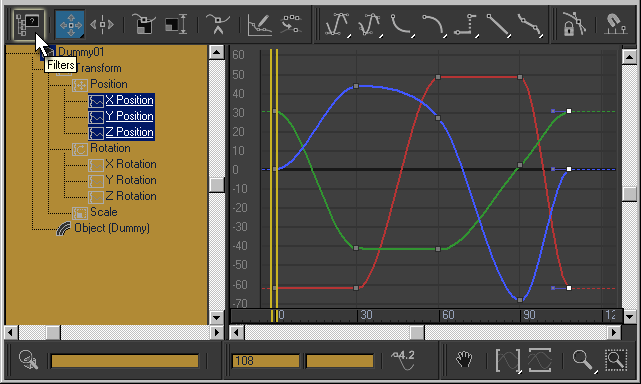
If no colored lines appear in your Curve Editor, then you need to change the settings. To change the settings, you must click the ‘Filters’ button on the upper left of the Curve Editor.
This will launch the Filters window.
Curve Editor: Easy 360
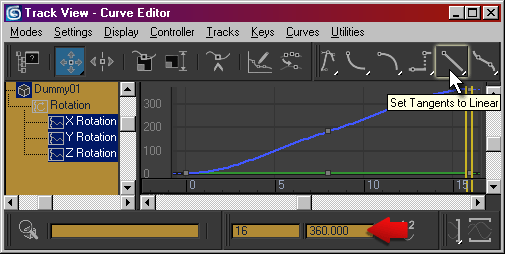
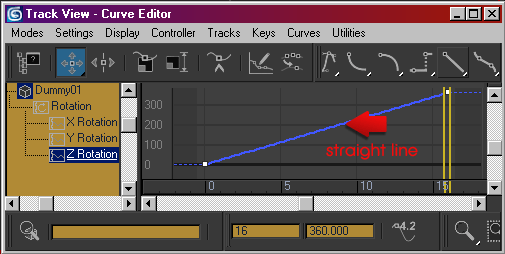
Since you know the rotation is supposed to be 360 degrees, you can easily create a smooth rotation with only two key frames in the Curve Editor. Simply go to the last key frame, click on the numerical input field and type in the proper number. In this case, the proper number is 360 + whatever your initial key frame value is. So, if you started at 12 degrees, then you would add 360 + 12 to get 372.
Kinds of Loops:
Full Animation Loop
You can export an animation with the intent of looping the entire thing. For example, the entirety of IMVU’s ‘wave’ animation is intended to loop.


Partial animation loop
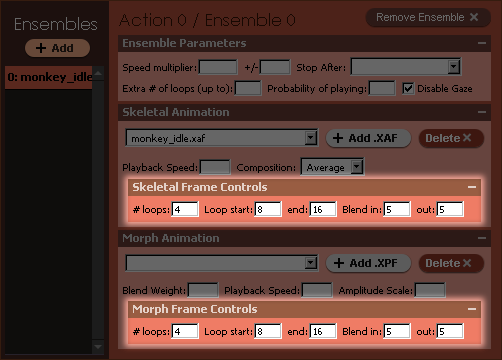
Sometimes, you only want to loop a portion of your animation. Although the Actions Tab Tutorial talks in more detail about this, it is important to know that you can loop your animations in the Create Mode Editor. You can choose any frame of your animation to start your loop on and then any frame in your animation to end your loop on.
So, when creating an animation of this kind, make sure that the beginning and end of your loop section contain the same keyframes. In the example image here, the float and spin are meant to loop. However, I can enter the float by jumping up. Slick.

XAF and XPF loops
You can create looping animations for both skeletal and morph animations. You can even make these two happen at the same time. So, every time an avatar gets punched in the face, their neck kicks back and they look like they have been hurt. To get this to happen, you can create your animations in two ways:
- Both the XAF and XPF are the exact same length
- The XAF and XPF are different lengths *but* they equal the same amount of time when put together in the Editor.
Create Mode Editor
Once you have your looped animations exported, put all of those assets together in the an Editor. To learn more about how to do this, go to the Actions Tab Tutorial.
