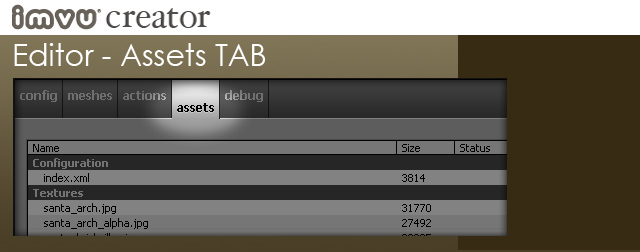
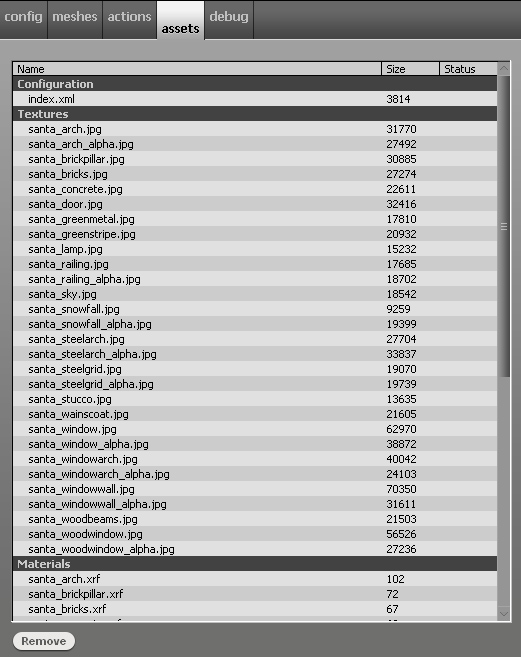
To purge your Project file of all extraneous assets, click on the Assets TAB. This tab shows you an itemized list of all of the assets currently contained in your Project file. Among these assets you will notice a file called index.xml. Never delete this file. It is necessary. Otherwise, if you see a file you did not create personally (other than index.xml), then it is garbage and ought to be deleted.
Once you have finished deleting files from the Assets tab, SAVE your product. When you save, you essentially make the asset deletions stick. Do not hit Apply Changes as this will only bring all of your deletions back and you will have to do the whole thing over again.
Add or Delete
When Deriving from a product that contains more Material slots then your own product you may end up with unnecessary files saved in your final exported Project file. Thus, we have supplied you with a Romove button. Clicking the Remove button deletes the Material that contains the button you are pressing. As you Remove materials, please make sure that the Material/.xrf file you are using contains a sub-material whose name matches the Material ID number in the window.
Save and apply changes
Now that you have successfully loaded your skeleton, mesh(es), animation(s) and texture(s), it is time to Save and Apply Changes. It is always prudent to Save often.